


Hey guys,
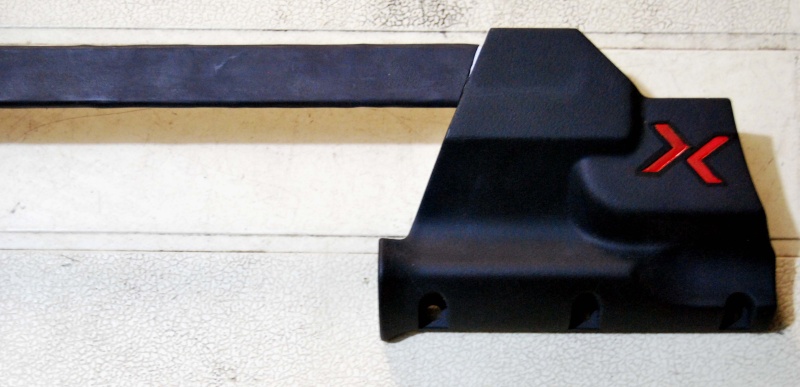
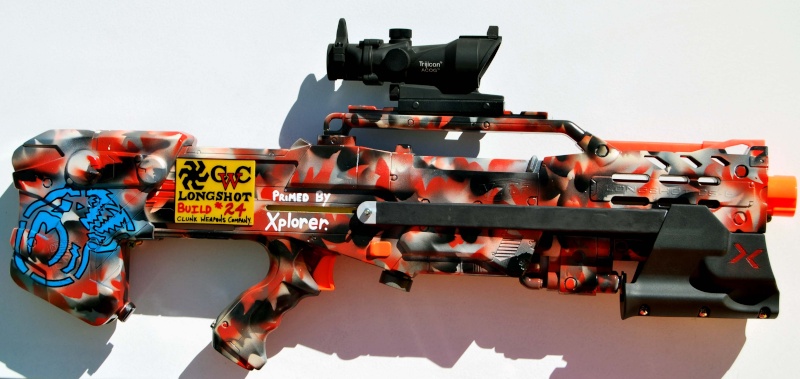
I've recently installed an Xplorer shotgun grip on to my latest CWC Stage 2 Longshot.
I originally purchased this in WRXLoonie's initial pre-order run, and paid approx $65 AUD for it, including p&h.
So far, I've been thoroughly impressed with it's quality and performance. I've put about 270 rounds through the blaster, only stopping to reload clips (I used 5 x 18-rd clips). The action is smooth, and it makes for very fast priming of the LS, even with the 17kg (approx) spring load.
Installation was a breeze, and took about 2 minutes total.
3 large screws hold the two halves of the grip together.
1 long machine screw/bolt connects the priming arms through the boltsled, and comes with a loc-nut.
There's also 2 spacers that go between the priming arms and the shell.
I've covered the arms in heatshrink, as the original grey finish didn't really blend with my paint scheme.
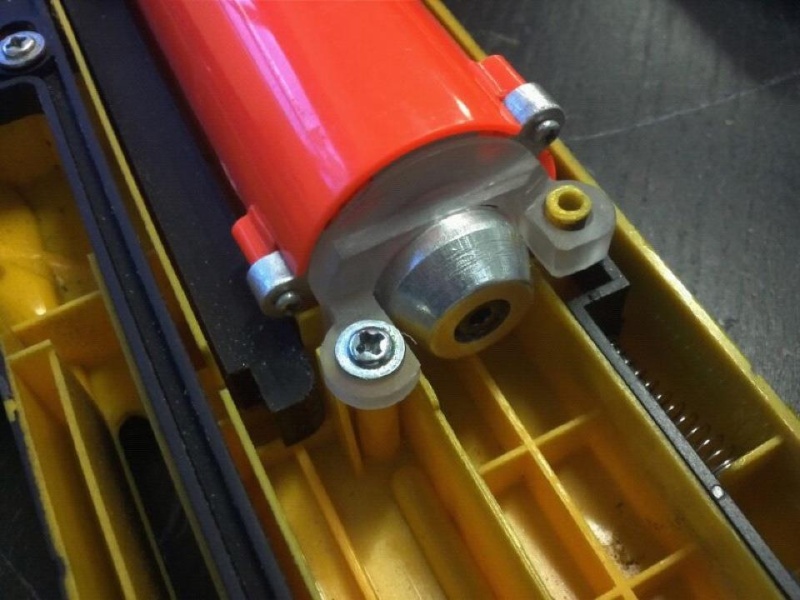
I've also installed an Xplorer Plunger Tube Support. This bracket adds extra reinforcement to the rear of the plunger tube, and is a great addition if you've stripped out the screwports at the rear of the plunger tube. Admittedly, it did cost me around $25 AUD, and that was at a sale price. I figured it was worthwhile testing it out, as this has always been one of the barrier's preventing higher spring loads in the LongShot.
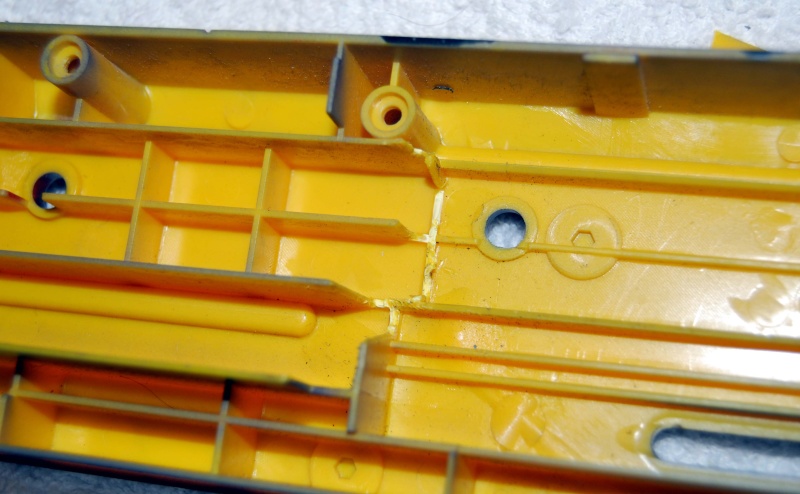
Once again, installation is very easy, as you'll see from the pic. I did have to remove a bit of the shell on the other half of the blaster, but it was fairly small, and wasn't a big task.
XPTS - photo courtesy of Mark Loon
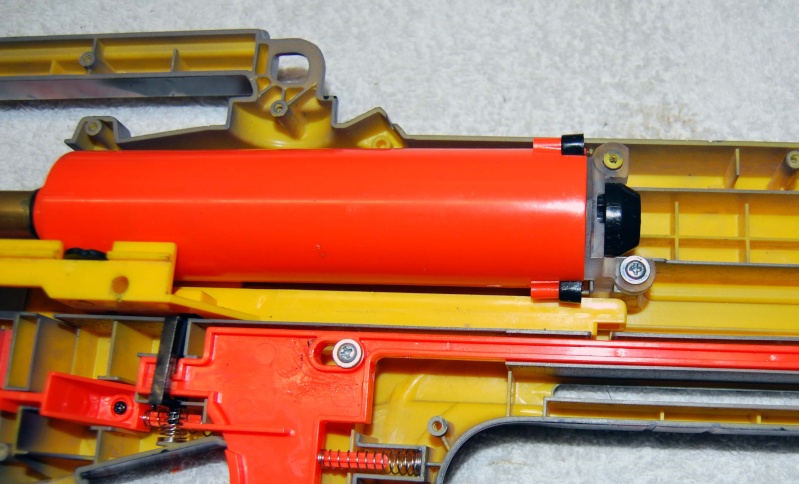
My XPTS installed.
Removal of some plastic inside the shell so the XPTS would fit:
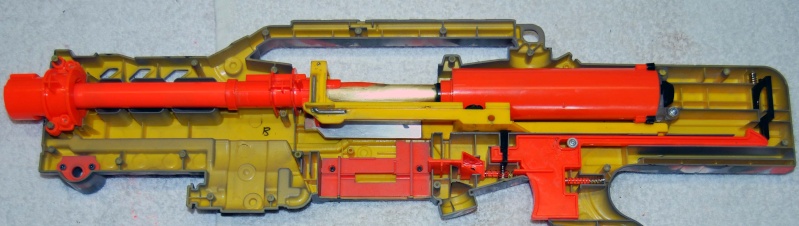
Full Internals.
Contact: xplorer_sg@hotmail.com for pricing and further information.
Cheers,
I've recently installed an Xplorer shotgun grip on to my latest CWC Stage 2 Longshot.
I originally purchased this in WRXLoonie's initial pre-order run, and paid approx $65 AUD for it, including p&h.
So far, I've been thoroughly impressed with it's quality and performance. I've put about 270 rounds through the blaster, only stopping to reload clips (I used 5 x 18-rd clips). The action is smooth, and it makes for very fast priming of the LS, even with the 17kg (approx) spring load.
Installation was a breeze, and took about 2 minutes total.
3 large screws hold the two halves of the grip together.
1 long machine screw/bolt connects the priming arms through the boltsled, and comes with a loc-nut.
There's also 2 spacers that go between the priming arms and the shell.
I've covered the arms in heatshrink, as the original grey finish didn't really blend with my paint scheme.
I've also installed an Xplorer Plunger Tube Support. This bracket adds extra reinforcement to the rear of the plunger tube, and is a great addition if you've stripped out the screwports at the rear of the plunger tube. Admittedly, it did cost me around $25 AUD, and that was at a sale price. I figured it was worthwhile testing it out, as this has always been one of the barrier's preventing higher spring loads in the LongShot.
Once again, installation is very easy, as you'll see from the pic. I did have to remove a bit of the shell on the other half of the blaster, but it was fairly small, and wasn't a big task.
XPTS - photo courtesy of Mark Loon
My XPTS installed.
Removal of some plastic inside the shell so the XPTS would fit:
Full Internals.
Contact: xplorer_sg@hotmail.com for pricing and further information.
Cheers,