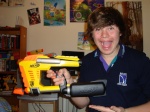
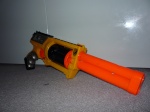
This is a Maverick mod that incorporates most of the revolutionary mods that made the Maverick a semi-reliable gun. That hits up to 11 meters! *Individual results may vary
Note : I will be switching between photos of my yellow Mav' and clear Mav'.
You will need
- A Maverick
- Mallet
- Flathead screwdriver or phillips head screwdriver
- Hot glue or Araldite
- Sandpaper, sanding block and wire cutters or a rotary tool - commonly known as a Dremel, which is a brand.
- Plastic box
- White sheet/material
Section 1 - 'Open sesame'.
Step 1
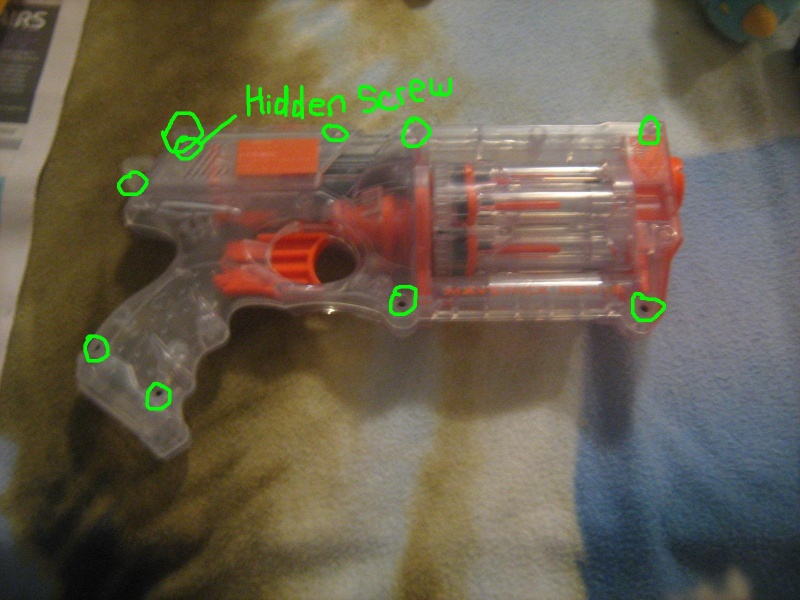
Unscrew all your screws and place them in a plastic container, on a white sheet.
Section 2 - 'AR removal'.
Step 1
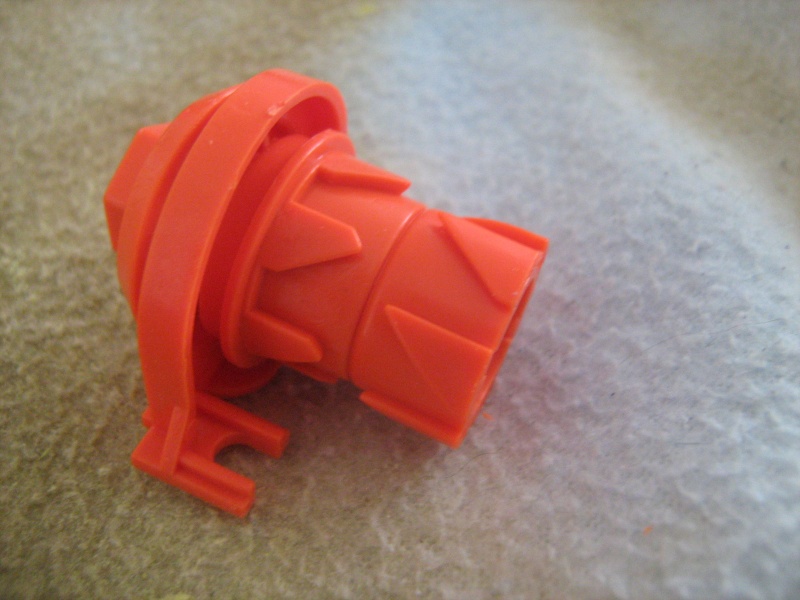
Remove the turret assembly from the gun.
Step 2
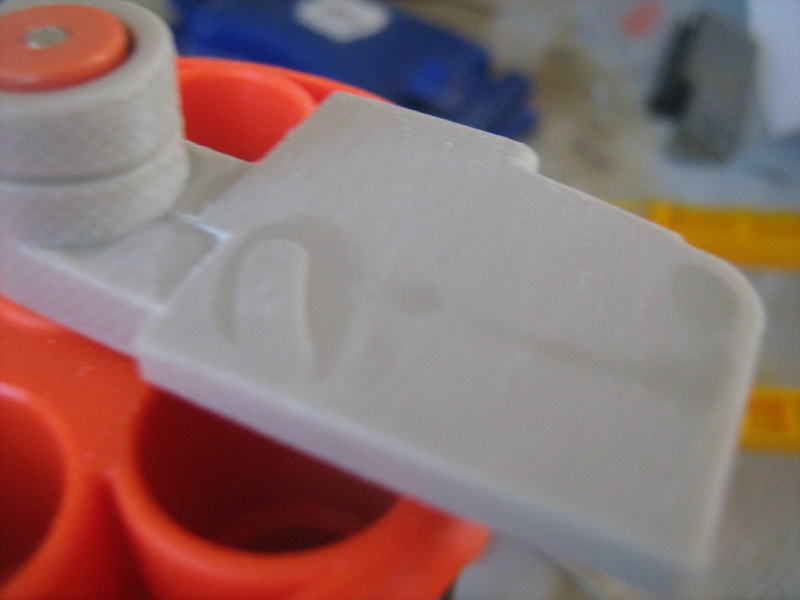
Pry of this front grey piece using a flathead screwdriver or the like.
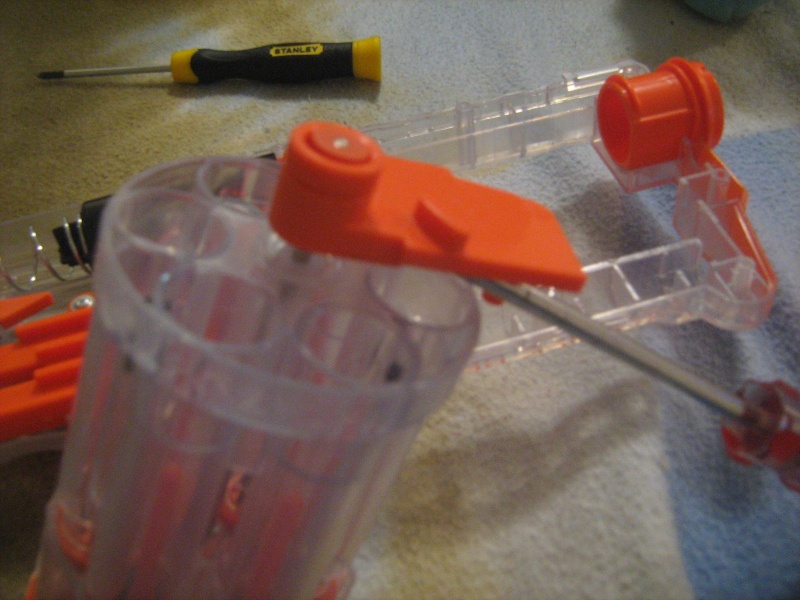
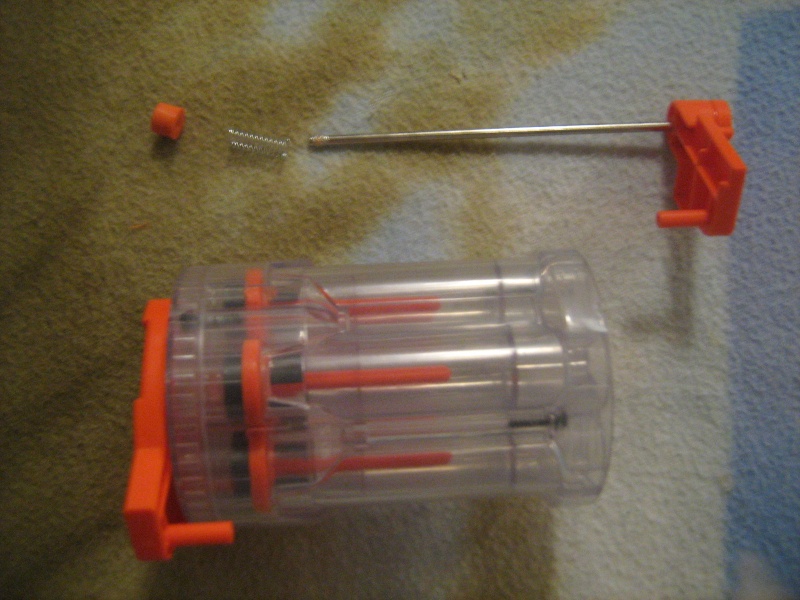
The front plate will come off with a rod attached to it and a spring and cap should come off the other end. Place these small pieces in your plastic box.
Step 3
Unscrew the 3 screws located on the rear area of the turret. Note : the grey rotational piece will cover 1-2 screws, be sure to move it. Place your screws in your plastic box.

Step 4
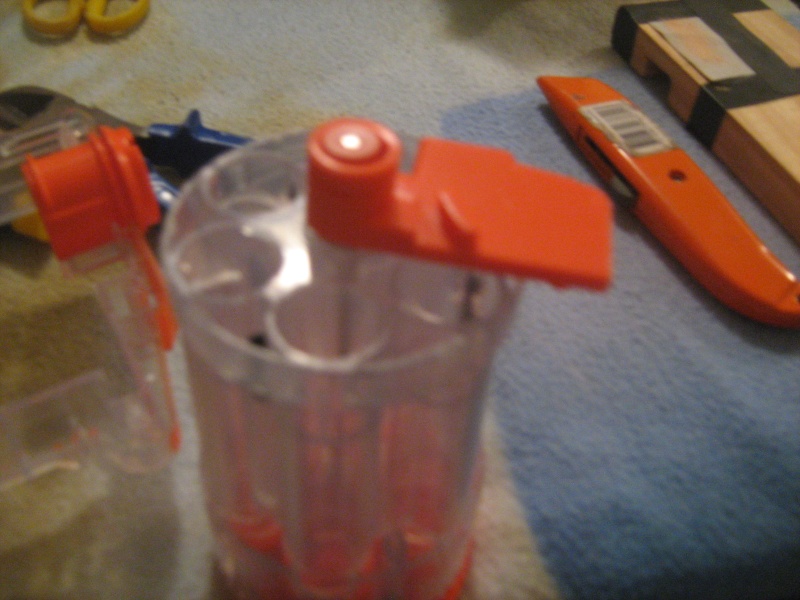
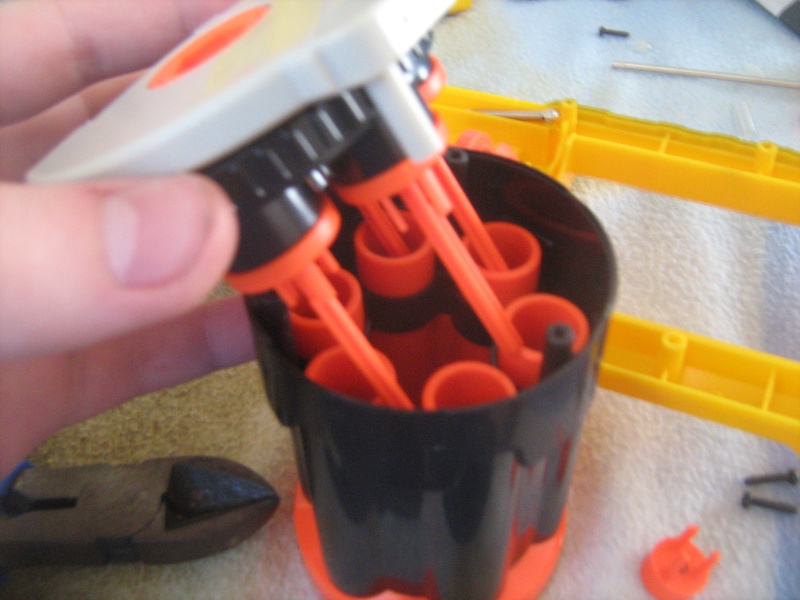
Pull off your turret's back plate.
Step 5
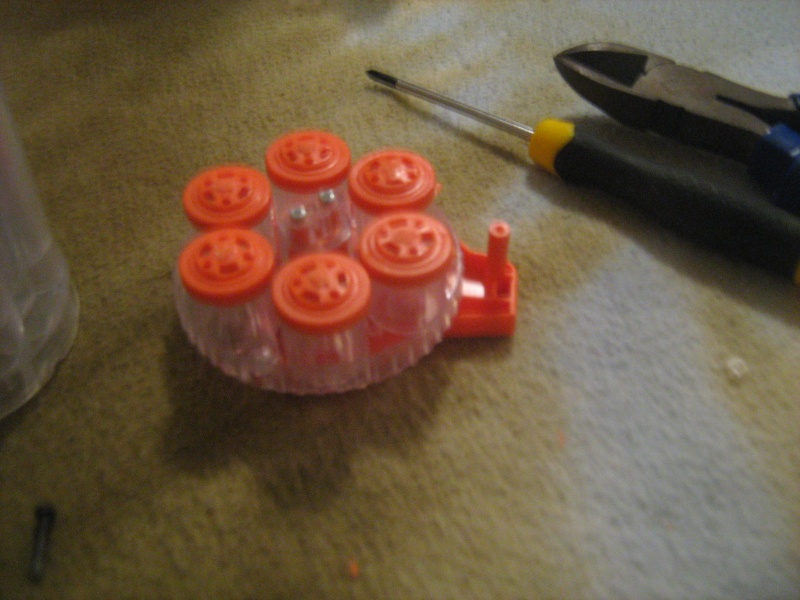
One by one, pull of your barrel pegs, place them aside, and let your AR's and AR springs drop out. Throw all of your AR's away - unless you fancy them as stefan weights - and all AR springs, bar 1, place that in your plastic box.
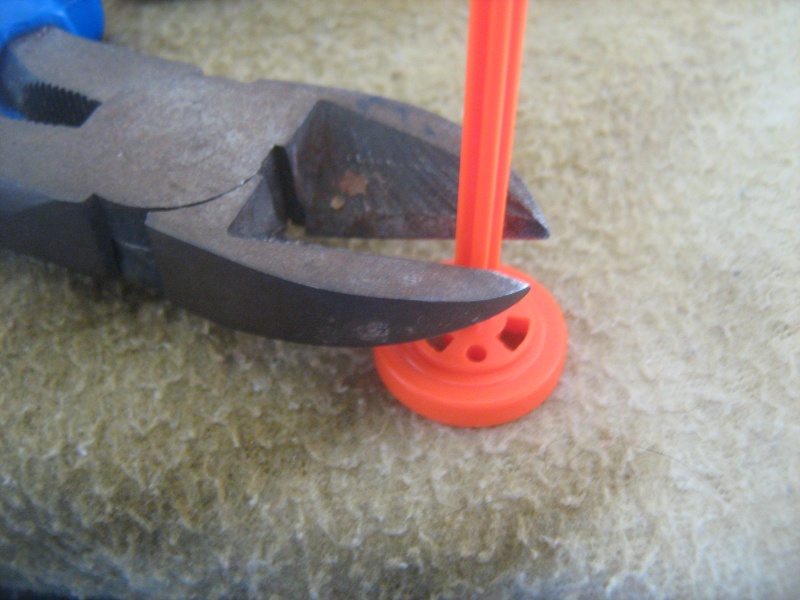
Now, with your barrel pegs handy, chop the pegs off.
With your barrel pegs now looking like so
sand them down so they look neat.
Replace all of your cut down barrel pegs.
Step 6
Place the turret backplate back on and screw it in. Grab your front grey piece and place the AR spring you set aside over the rod and put it through the center of the turret.

Put the spring that came off the turret on the opposing end where it initially came from and place the endcap over it. Mallet the stucture back together.
Section 3 - 'Russian Roulette'.
Step 1
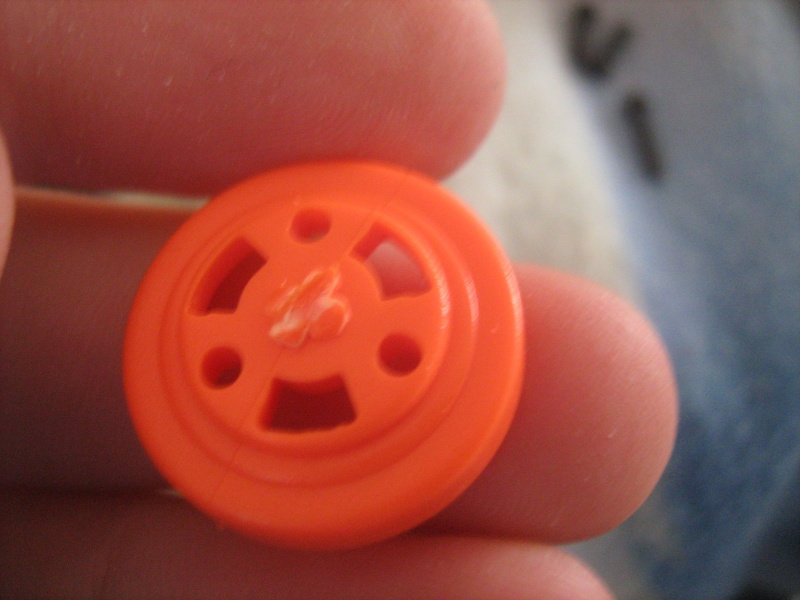
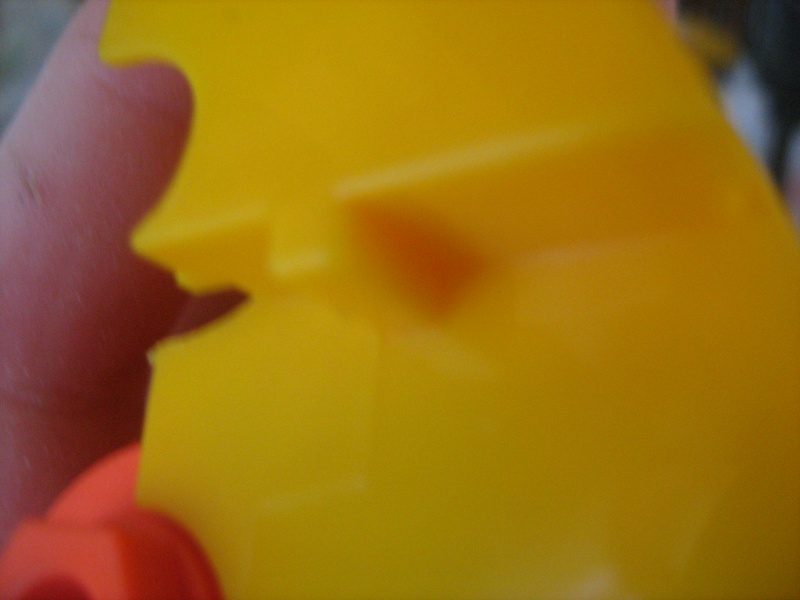
With your turret still out of the gun, look at the front end. Notice that little nub?
Cut that off. Either use your rotary tool/Dremel or wire cutter and a sanding block w/ sandpaper. The Dremel method is self explanatory - cutting disk then sand. For the other, cut the most part off with your wire cutters and then sand down. You want this as smooth as possible.
Step 2
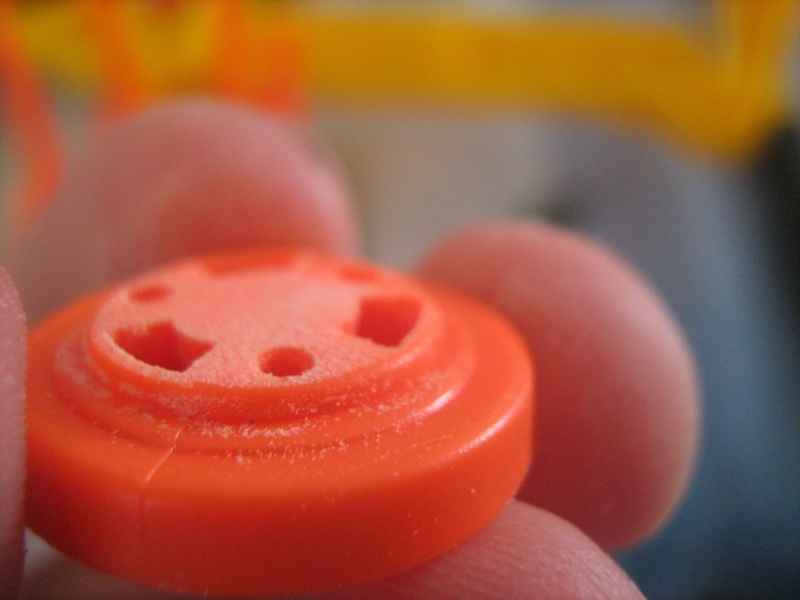
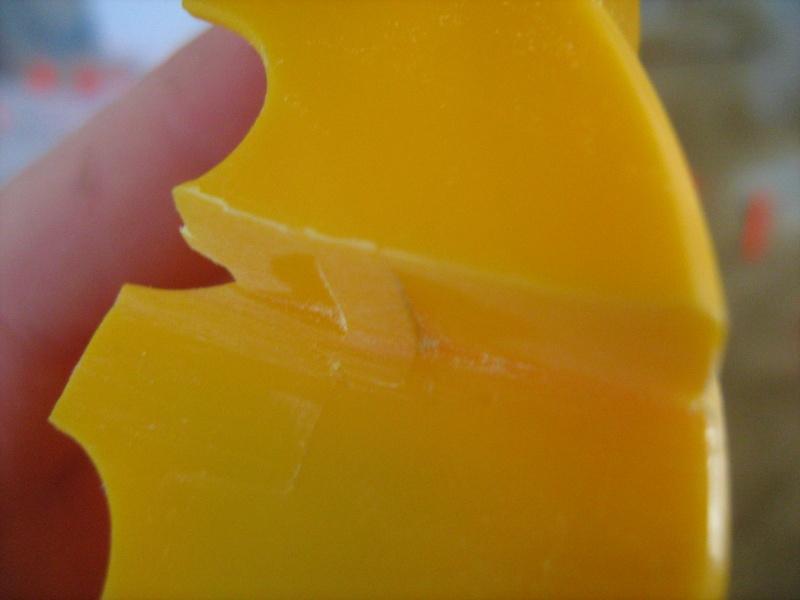
On the shell of your turret, near the rotating mech, you should see this nub.
Same as before, cut and sand to as smooth as possible.
Once you have done this, replace the turret.
Section 3 - 'Rotation Issues'
Step 1
Remove this mechanism from your gun. There are four screws, you only need to undo the two closest to the turret. This is the roation mech.
Now undo it's only screw.
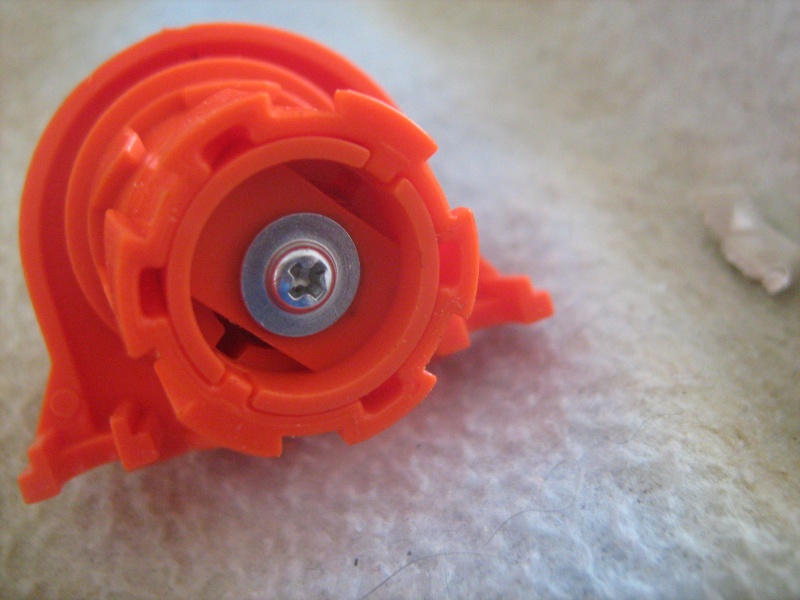
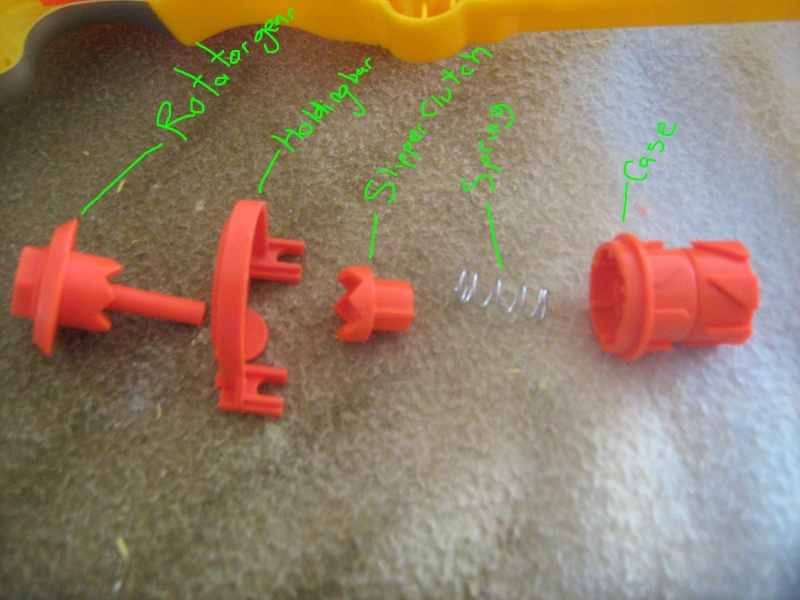
These are your rotation mech's pieces. Place the spring, screw, case and holding bar in your box.
Step 2
Take the slip' clutch and glue its teeth to the teeth on the rotator gear. Put it back together and screw it in.
Step 3
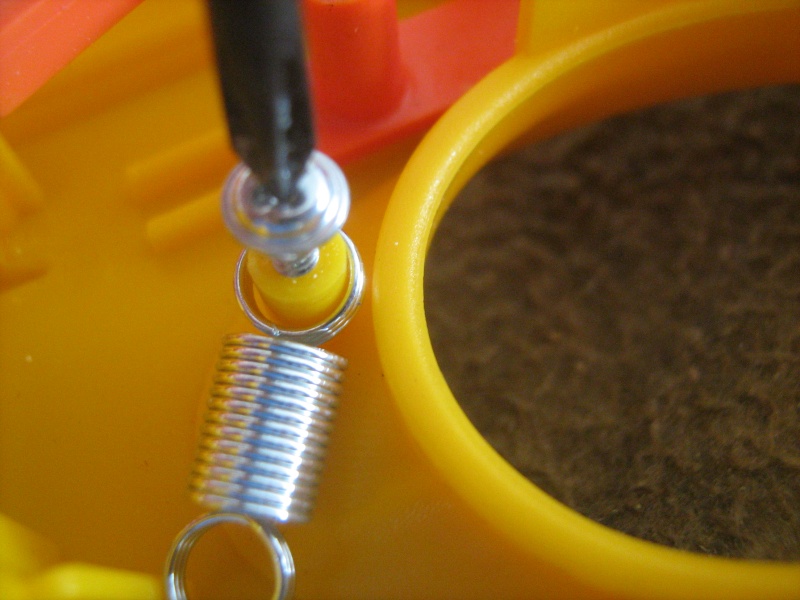
Once the rotation mech is back together, unscrew your trigger. With the trigger pulled off, you will see its, spring held in by one screw. Unscrew that and take the spring out.
I, like CS, have moved it to here.
Section 6 - 'One is a penny to many'
I have not done the penny mod as I lost my last maverick to an over-compressed spring.
Section 7 - 'Sophisticated hooray'
Congratulations!
Look out over the vineyards as the sun sets with your english wife as you discuss Leonardo Da Vinci's many excellent inventions, while simoultaneously mulling over the simplictity yet superiority of Bruce Dawe's poetry and take well educated sips of only the finest in red wines as you mave on to the the atrocity that is Oznerf's grammar...
Note : I will be switching between photos of my yellow Mav' and clear Mav'.
You will need
- A Maverick
- Mallet
- Flathead screwdriver or phillips head screwdriver
- Hot glue or Araldite
- Sandpaper, sanding block and wire cutters or a rotary tool - commonly known as a Dremel, which is a brand.
- Plastic box
- White sheet/material
Section 1 - 'Open sesame'.
Step 1
Unscrew all your screws and place them in a plastic container, on a white sheet.
Section 2 - 'AR removal'.
Step 1
Remove the turret assembly from the gun.
Step 2
Pry of this front grey piece using a flathead screwdriver or the like.
The front plate will come off with a rod attached to it and a spring and cap should come off the other end. Place these small pieces in your plastic box.
Step 3
Unscrew the 3 screws located on the rear area of the turret. Note : the grey rotational piece will cover 1-2 screws, be sure to move it. Place your screws in your plastic box.
Step 4
Pull off your turret's back plate.
Step 5
One by one, pull of your barrel pegs, place them aside, and let your AR's and AR springs drop out. Throw all of your AR's away - unless you fancy them as stefan weights - and all AR springs, bar 1, place that in your plastic box.
Now, with your barrel pegs handy, chop the pegs off.
With your barrel pegs now looking like so
sand them down so they look neat.
Replace all of your cut down barrel pegs.
Step 6
Place the turret backplate back on and screw it in. Grab your front grey piece and place the AR spring you set aside over the rod and put it through the center of the turret.
Put the spring that came off the turret on the opposing end where it initially came from and place the endcap over it. Mallet the stucture back together.
Section 3 - 'Russian Roulette'.
Step 1
With your turret still out of the gun, look at the front end. Notice that little nub?
Cut that off. Either use your rotary tool/Dremel or wire cutter and a sanding block w/ sandpaper. The Dremel method is self explanatory - cutting disk then sand. For the other, cut the most part off with your wire cutters and then sand down. You want this as smooth as possible.
Step 2
On the shell of your turret, near the rotating mech, you should see this nub.
Same as before, cut and sand to as smooth as possible.
Once you have done this, replace the turret.
Section 3 - 'Rotation Issues'
Step 1
Remove this mechanism from your gun. There are four screws, you only need to undo the two closest to the turret. This is the roation mech.
Now undo it's only screw.
These are your rotation mech's pieces. Place the spring, screw, case and holding bar in your box.
Step 2
Take the slip' clutch and glue its teeth to the teeth on the rotator gear. Put it back together and screw it in.
Step 3
Once the rotation mech is back together, unscrew your trigger. With the trigger pulled off, you will see its, spring held in by one screw. Unscrew that and take the spring out.
I, like CS, have moved it to here.
Section 6 - 'One is a penny to many'
I have not done the penny mod as I lost my last maverick to an over-compressed spring.
Section 7 - 'Sophisticated hooray'
Congratulations!
Look out over the vineyards as the sun sets with your english wife as you discuss Leonardo Da Vinci's many excellent inventions, while simoultaneously mulling over the simplictity yet superiority of Bruce Dawe's poetry and take well educated sips of only the finest in red wines as you mave on to the the atrocity that is Oznerf's grammar...