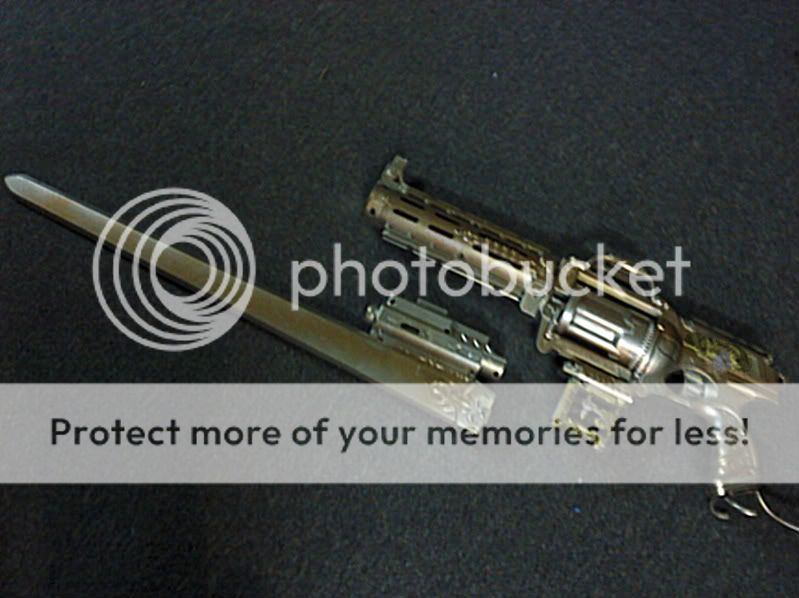
Hey, fellow Nerfers. Today I bring you a tutorial that most of you probably won’t care too much about, but I know at least a few of you will at least expound off of at some point or at least have some curiosity, so I figured it was worth posting. This is how to make a melee-ready, weirdly-shaped, affordable bayonet, like the one found on my recently-completed ShadowLance, pictured below. You can attach these to any gun, but this guide will use the Recon, since that’s the one I’ve worked it.

The pictures are big for clarity's sake- you may need to shrink the page to see them.
Step 0: Supplies
Most Nerfers already have most of the things necessary to do this mod:
- Duct Tape/Electrical Tape
- Thick, clear box tape (packing tape works too) or even better, a Laminate sheet
- Epoxy
- A wood-saw
- Soft packing material
If you have all of that, the next step is to go to a hardware store a buy wood. I’d suggest a thin wood… thicker than ply, thinner than fence. Picture below.

Step 1: Preparing to Cut
Use a pencil to draw your desired design onto your wood. Then, inside that design, draw the same design but SLIGHTLY SMALLER. The wood makes up the base of the bayonet, but it isn’t the blade itself, and you should; this is melee-ready, not break-your-friend’s-arm-ready.
Before cutting, draw the original-size design on 2-pieces of cardboard, as in the picture below.

Step 2: Cutting
Use an exacto-knife or utility knife, on a solid surface, to cut out the cardboard shapes. Then use a wood saw to cut out the slightly smaller inner wooden shape- but leave a bit at the top so it can attach to the gun. See picture below. The wood doesn’t have to be neat, but it does have to fit inside the cardboard.

Step 3: Put it Together
Use Epoxy around the edge of the smaller wooden cut, then press one Cardboard cut onto each side, matching up the three slices so that the adhesion put at the top is at the same place for all three. If you’re attaching your Bayonet to something removable, making a concave adhesion point will allow for better leveling and better grip for the last layer of epoxy. Let the now completed blade skeleton dry for as long as your epoxy takes. When it’s done, stuff your soft packing material into the contact point of the blade, i.e. what you intend to hit people with. This is your buffer. As well as making the blade safe to hit people with, it also acts as a cushion for the blade itself, so the wood and cardboard aren’t taking the entire brunt of every hit. Dart material is great, but expensive for big blade, so I suggest packing foam.
Step 4: Binding
Next step, lay out a sheet of duct tape, as in the picture below. This sheet should be the length and width of the blade. Lay the sheet on top of the blade, then flip it all over and use your exacto-knife to cut around the edges, leaving only a little lip to fold over and cover the cardboard holes up and the foam buffer inside your blade. Fold over your lip, and then repeat for the other side. Then, use a single strip of duct tape to cover the fold-over from the lips and bind the blade.
Step 5: First Spray
Spray-paint your duct-taped blade. I’d say black or silver. Easy enough. Picture below. Let dry.

Step 6: Bind-Cleaning
Right now, the blade is all bumpy from the duct tape. Repeat what you did with the duct tape with clear tape, but this time use your exacto-knife to cut off the entire lip so that there is a clean line. This makes the blade smoother. MAKE SURE NOT TO WRINKLE. IT WILL NEVER COME OUT.
Alternatively, use a laminate sheet. You peel the paper off and lay the blade on top of it. Saves you a step.
Step 7: Second Spray
Spray the blade whatever color you want it to be. Krylon Plastic Fusion works well on the plastic-based packing tape or plasticine laminate sheet. After that, do whatever, as it’s primed already.
Step 8: Attachment
Use your Epoxy to attach your blade to whatever you want. 3-day epoxy is key; strength must be maintained. If you can, use a long screw to screw through the plastic and into the wood. Do this in two places and the bayonet will never fall off. See picture below.

And that’s it. You got yourself a bayonet.

Using the screw method, this thing is totally battle-ready. It won't break, it won't rip, it won't wrinkle. It can break wood with enough force, but since it's got that padding inside, it won't hurt people when you slash with it (other than blunt damage). Best of all, it only adds a pound or three to the total weight- even with the giant one I did it only added like three pounds.
Questions or comments, ask 'em here.
Thanks for reading!
Cheers,
Spencer
The pictures are big for clarity's sake- you may need to shrink the page to see them.
Step 0: Supplies
Most Nerfers already have most of the things necessary to do this mod:
- Duct Tape/Electrical Tape
- Thick, clear box tape (packing tape works too) or even better, a Laminate sheet
- Epoxy
- A wood-saw
- Soft packing material
If you have all of that, the next step is to go to a hardware store a buy wood. I’d suggest a thin wood… thicker than ply, thinner than fence. Picture below.
Step 1: Preparing to Cut
Use a pencil to draw your desired design onto your wood. Then, inside that design, draw the same design but SLIGHTLY SMALLER. The wood makes up the base of the bayonet, but it isn’t the blade itself, and you should; this is melee-ready, not break-your-friend’s-arm-ready.
Before cutting, draw the original-size design on 2-pieces of cardboard, as in the picture below.
Step 2: Cutting
Use an exacto-knife or utility knife, on a solid surface, to cut out the cardboard shapes. Then use a wood saw to cut out the slightly smaller inner wooden shape- but leave a bit at the top so it can attach to the gun. See picture below. The wood doesn’t have to be neat, but it does have to fit inside the cardboard.
Step 3: Put it Together
Use Epoxy around the edge of the smaller wooden cut, then press one Cardboard cut onto each side, matching up the three slices so that the adhesion put at the top is at the same place for all three. If you’re attaching your Bayonet to something removable, making a concave adhesion point will allow for better leveling and better grip for the last layer of epoxy. Let the now completed blade skeleton dry for as long as your epoxy takes. When it’s done, stuff your soft packing material into the contact point of the blade, i.e. what you intend to hit people with. This is your buffer. As well as making the blade safe to hit people with, it also acts as a cushion for the blade itself, so the wood and cardboard aren’t taking the entire brunt of every hit. Dart material is great, but expensive for big blade, so I suggest packing foam.
Step 4: Binding
Next step, lay out a sheet of duct tape, as in the picture below. This sheet should be the length and width of the blade. Lay the sheet on top of the blade, then flip it all over and use your exacto-knife to cut around the edges, leaving only a little lip to fold over and cover the cardboard holes up and the foam buffer inside your blade. Fold over your lip, and then repeat for the other side. Then, use a single strip of duct tape to cover the fold-over from the lips and bind the blade.
Step 5: First Spray
Spray-paint your duct-taped blade. I’d say black or silver. Easy enough. Picture below. Let dry.
Step 6: Bind-Cleaning
Right now, the blade is all bumpy from the duct tape. Repeat what you did with the duct tape with clear tape, but this time use your exacto-knife to cut off the entire lip so that there is a clean line. This makes the blade smoother. MAKE SURE NOT TO WRINKLE. IT WILL NEVER COME OUT.
Alternatively, use a laminate sheet. You peel the paper off and lay the blade on top of it. Saves you a step.
Step 7: Second Spray
Spray the blade whatever color you want it to be. Krylon Plastic Fusion works well on the plastic-based packing tape or plasticine laminate sheet. After that, do whatever, as it’s primed already.
Step 8: Attachment
Use your Epoxy to attach your blade to whatever you want. 3-day epoxy is key; strength must be maintained. If you can, use a long screw to screw through the plastic and into the wood. Do this in two places and the bayonet will never fall off. See picture below.
And that’s it. You got yourself a bayonet.
Using the screw method, this thing is totally battle-ready. It won't break, it won't rip, it won't wrinkle. It can break wood with enough force, but since it's got that padding inside, it won't hurt people when you slash with it (other than blunt damage). Best of all, it only adds a pound or three to the total weight- even with the giant one I did it only added like three pounds.
Questions or comments, ask 'em here.
Thanks for reading!
Cheers,
Spencer
Last edited by Sadavi5 on Sat Aug 13, 2011 12:25 am; edited 1 time in total (Reason for editing : Added pics, fixed link.)