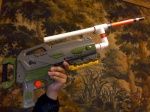
Hey guys. It seems that there are no write-ups on the actual Alpha Trooper. The Alpha Trooper itself is an extremely easy to mod blaster as the air restrictors dont' seem to be glue in and can be knocked out VERY EASILY with a flat head screw driver. I will be showing you how to get started.
Materials:
- Flat Head Screw Drver
- Hammer
- Phillip's Headscrewdriver
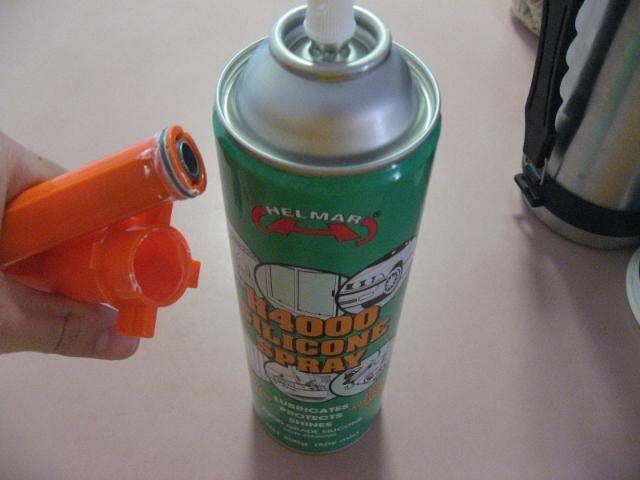
- H4000 Food Grade Silicone Spray (purchase from Mitre 10 OR most dollar stores)
- Fix-A-Tap / HydroSeal Tap Grease (purchased from bunnings)
Step 1: Opening Up the Blaster
Opening up the blaster will require a small phillip’s head screwdriver. Make sure you get all the screws out before you try to pry it open.


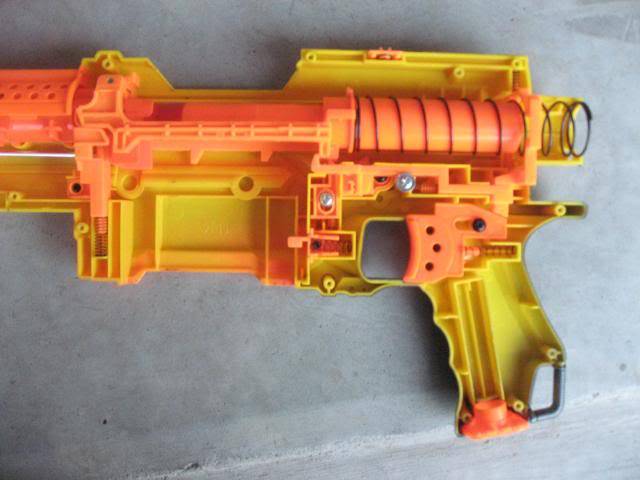
Internal Pictures
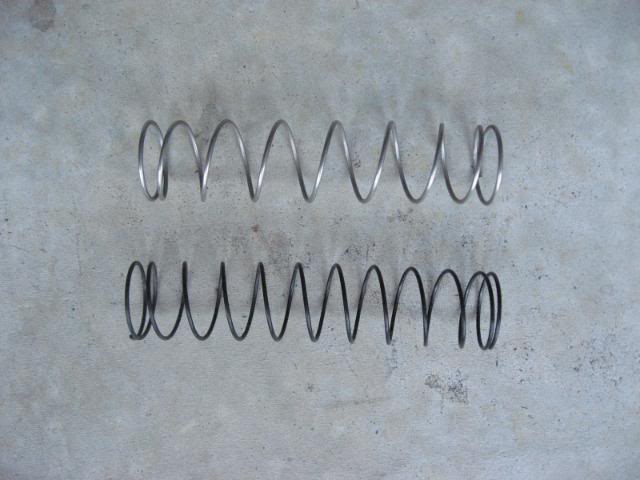
Step 2: Spring Replacement
The spring I’ve used can be purchased from OzNerfNerd. Please support Australian Made products and don’t buy your crap from Orange Mod Works, they both produce the same results. http://stores.ebay.com.au/oznerfnerd?_rdc=1
You will need to dremel some of the blaster’s shell before you uses the spring if you want more ‘smoother’ priming. I took this picture from SgNerf as I had forgotten to take pictures from this step. The owner of this picture has the right to ask me to remove this picture.

I know it’s a picture of a Raider, however the Alpha Trooper, Recon and Raider has these here to prevent using bigger springs, but this can be easily modified
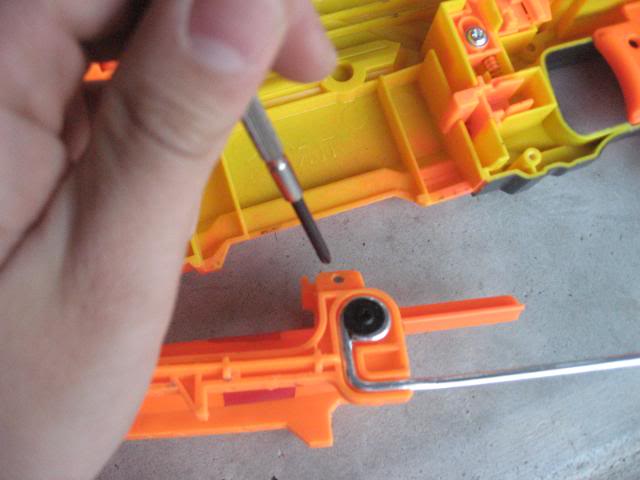
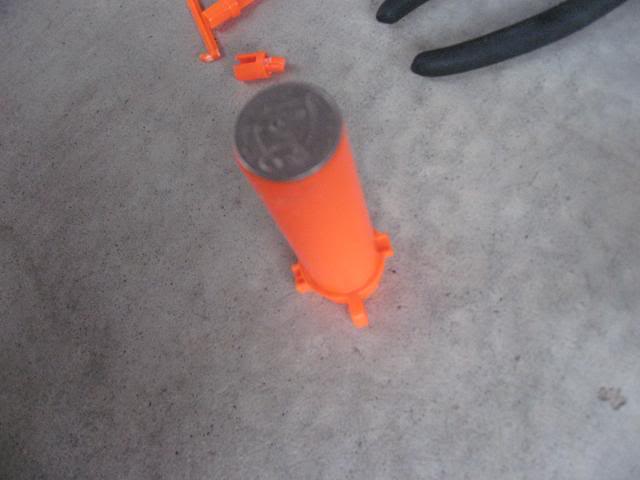
Step 3: Removing the Pin to get to the Barrel
Use a small screw driver or nail to tap out the pin that holds the boltsled to the barrel with a hammer.

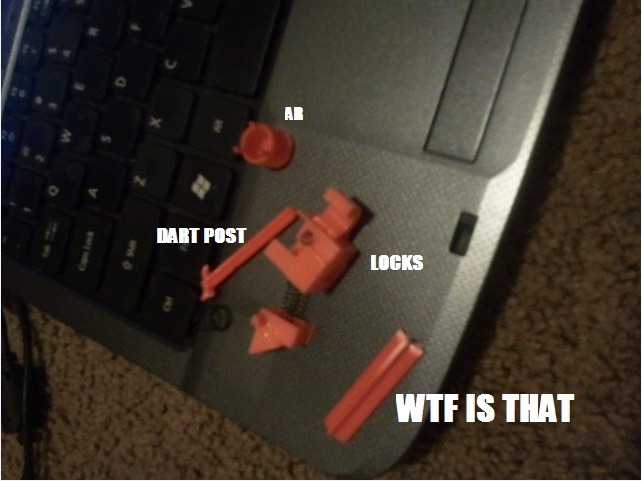
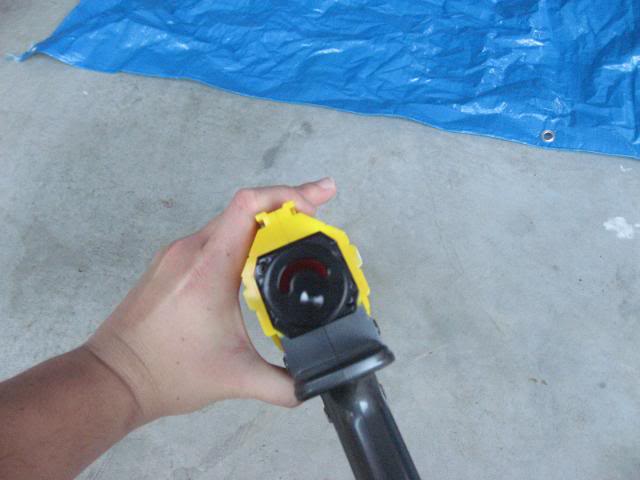
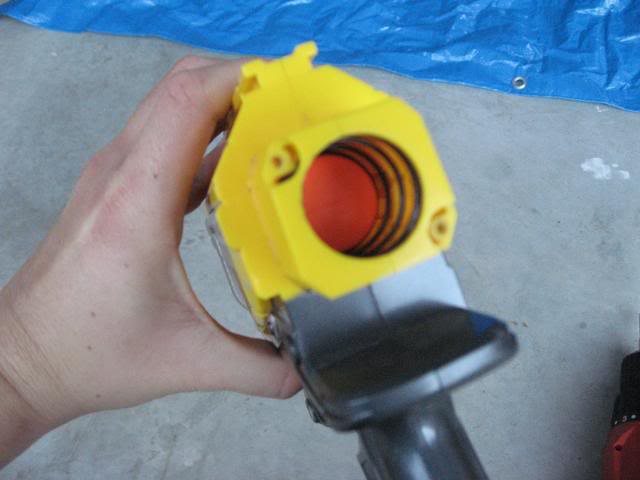
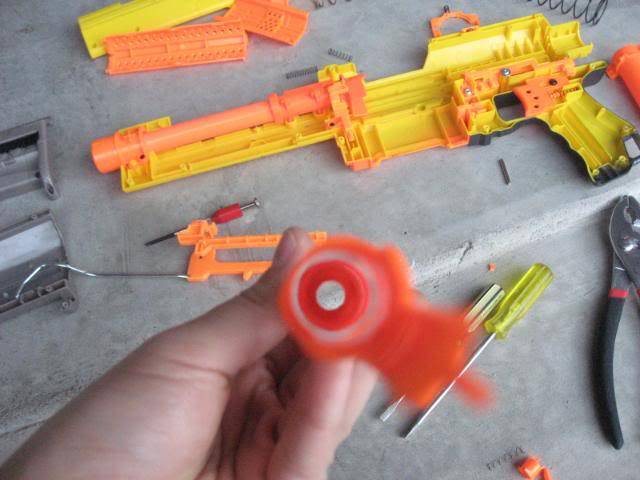
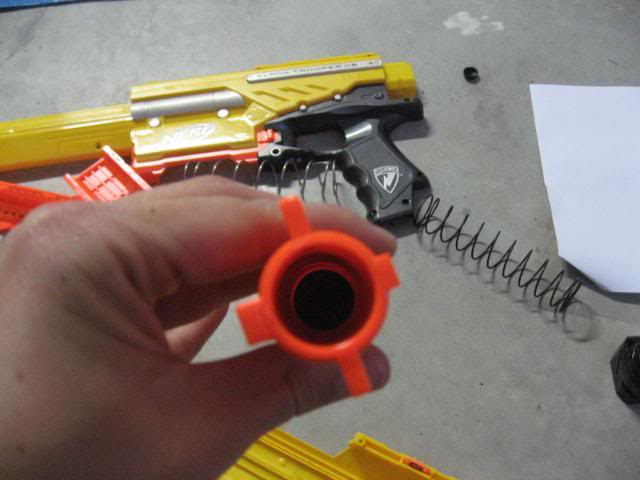
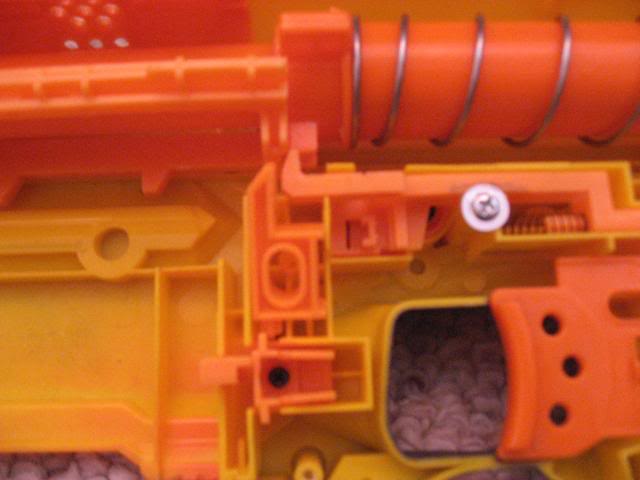
Step 4: Air Restrictor Removal
Removing the Air Restrictor from the Alpha Trooper is the easiest process by far out of the all reverse plunger systems I have come across.
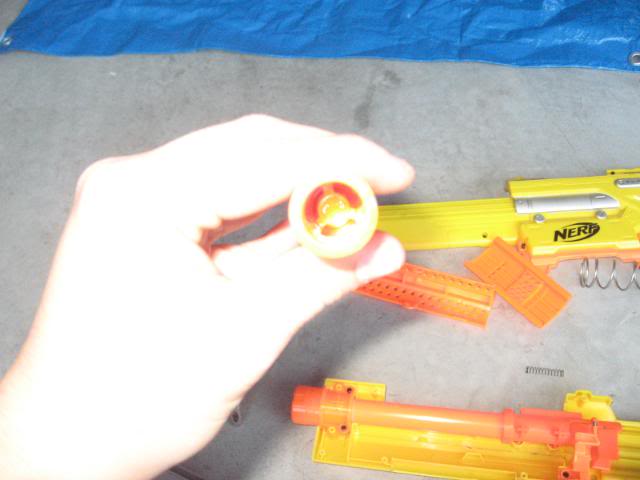
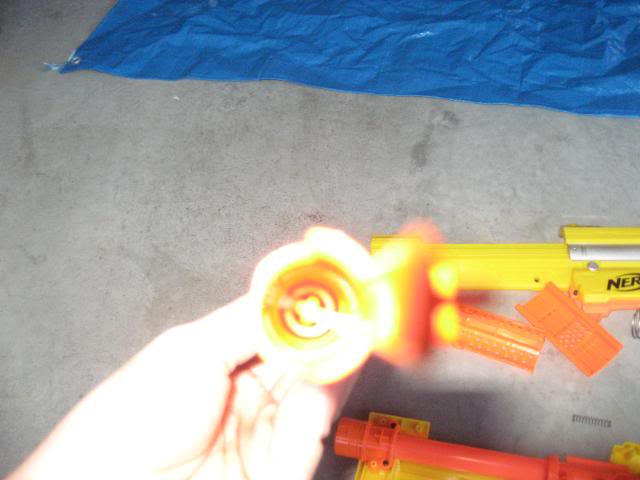
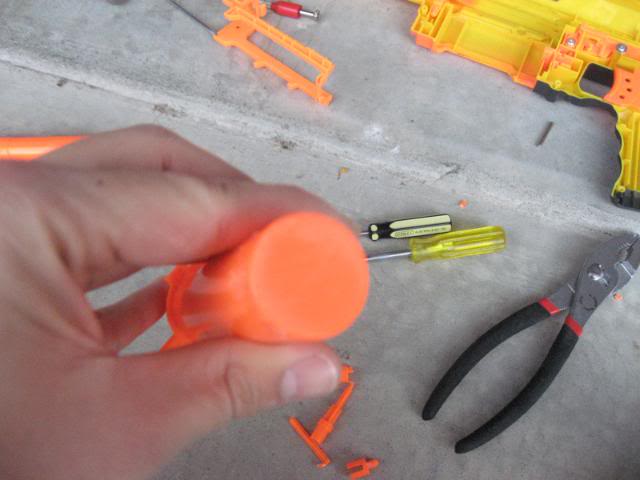
You will need the following tools displayed below, (Flat Head Screwdriver and Hammer).

If you look carefully the restrictors are held by ‘small prongs’; all you need to do tap it out using a flat head screw driver. Make sure your screw driver is long enough. As you can see below, the AR’s are removed cleanly.
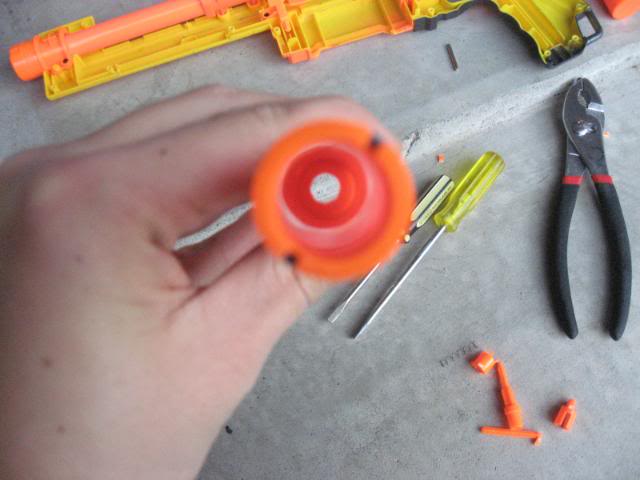
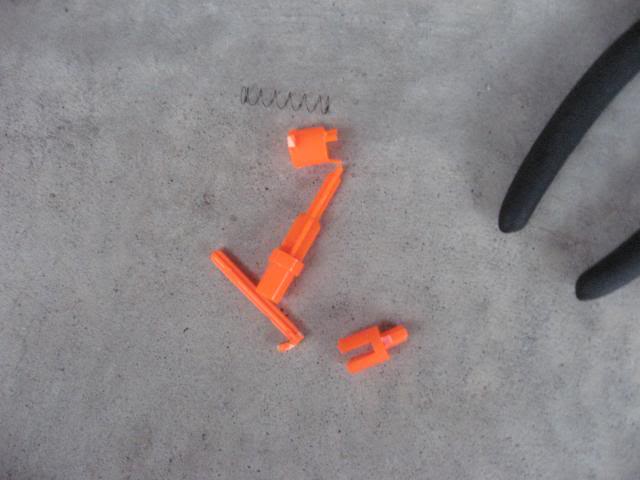
Air Restrictor Remains
Step 5: Reverse Plunger Reinforcement
Many people think, “oh my god, I can purchase OMW aluminium plunger parts and my Alpha Trooper will last forever!”; However, you don’t need to spend $20 on something that can be fixed for less than 50cents. Here is what you do... Sand down the back of the reverse plunger. Make sure you clean off ALL the grease in your plunger before doing the following step.
Use 3day Araldite (for the strongest bond) epoxy and paste a generous amount on the back.
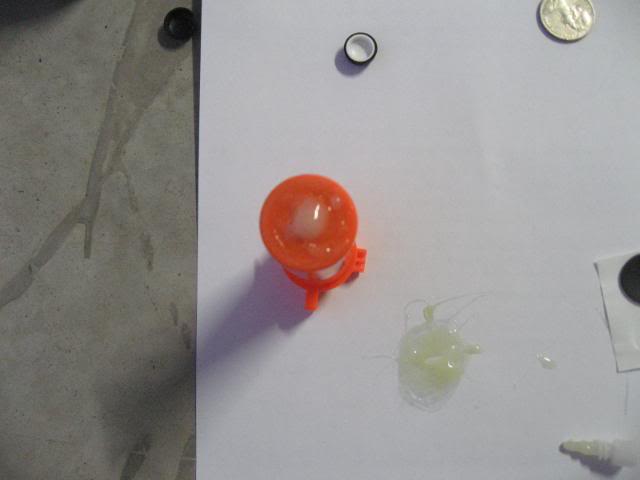
Place a 10cent coin carefully, making sure it’s CENTRED, so that when you prime it won’t get stuck obviously.
Now, grab some plunger padding (rubber tyre bladder or buffers purchased from oznerfnerd) and place epoxy on it as well and slide it down the plunger. http://stores.ebay.com.au/oznerfnerd?_rdc=1 - you can purchase buffers from oznerfnerd here.

This will give you a reinforced plunger as you basically have given extra layers to your plunger. This will ensure that your plunger will NOT break when using it. You don’t need all that ‘aluminium crap’ when you can do this for a very small fraction of the price. Please note, this method has been done by Sairex as a trial run and he has accidentally dry fired his AT approximately 100 times during times he ran out of ammo and didn’t notice and has not left a single crack or damaged mark on his plunger. It still shoots well =).
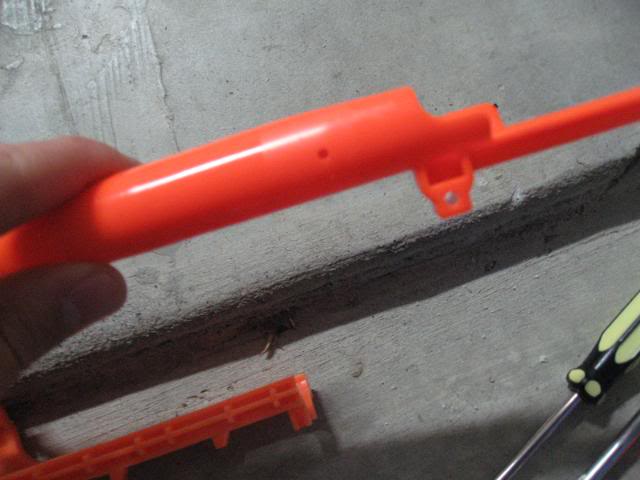
Step 6: Cutting the black attachment stock bit to fit the reinforcement
As thickening the plunger with the 10coin increases the length of your plunger slightly, your blaster may not be able to prime as the plunger won’t be able to go all the way back. I’ve marked where you need to cut it, once again I have forgotten the before and after picture.

Step 7: Deadspace Reduction
This is basically to increase the ‘air flow’ to your dart. You can use a macca’s straw to do this, make sure your straw isn’t TOO small or else you will limit too much air. Here I used a 12mm aluminium tube wrapped with e-tape to reduce the dead space.

Step 8: Air Hole in Barrel Plugged
Most N-strike blasters will come with this ‘hole’ to decrease the amount of power delivered to the dart. You can fix this by wrapping ONE layer of electrical tape. I forgot to take a picture of a plugged barrel, but you get the gist of it.
Step 9: Lubrication
After doing all those steps, you will need to regrease / relubricate your plunger. You will need the following lubricants.
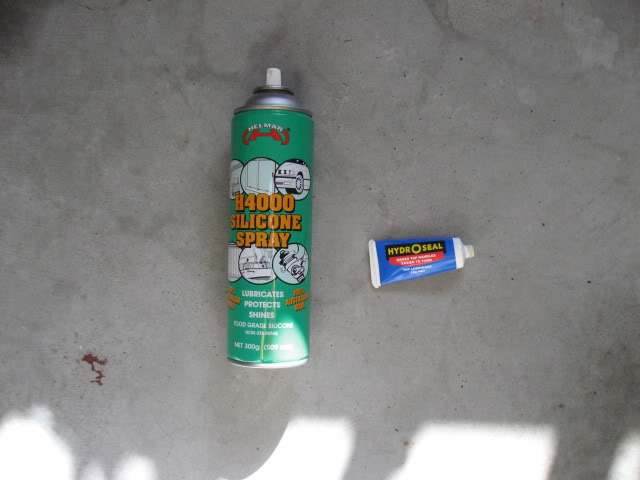
Apply Hydroseal tap grease / fix-a-tap grease on the o-ring AND inside the plunger.

After applying the tap grease, spray the o-ring and INSIDE the plunger with the H4000 Food Grade Silicone Spray
Step 10: Removing the Boltsled and Prime lock Locks.
I removed these so that the blaster had smoother firing. Please note, if you do remove these locks you will need to place your hand on the
priming handle FORWARD in order to fire your blaster.
Remove that lock by taking it out with a screwdriver.

FINISHED!
There you have it, an Alpha Trooper that has a decent range and ROF to compete against all degrees of blasters. PLEASE NOTE: The strategy used for this blaster is for RUSHING by POPPING OFF SHOTS at your enemies. Standing from afar and trying to aim is not using this blaster at is maximum potential =).
Average STOCK Ranges
PTG: 25ft
ATG: 35ft
Average IMPROVED Ranges
PTG: 50ft
ATG: 65ft
Materials:
- Flat Head Screw Drver
- Hammer
- Phillip's Headscrewdriver
- H4000 Food Grade Silicone Spray (purchase from Mitre 10 OR most dollar stores)
- Fix-A-Tap / HydroSeal Tap Grease (purchased from bunnings)
Step 1: Opening Up the Blaster
Opening up the blaster will require a small phillip’s head screwdriver. Make sure you get all the screws out before you try to pry it open.
Internal Pictures
Step 2: Spring Replacement
The spring I’ve used can be purchased from OzNerfNerd. Please support Australian Made products and don’t buy your crap from Orange Mod Works, they both produce the same results. http://stores.ebay.com.au/oznerfnerd?_rdc=1
You will need to dremel some of the blaster’s shell before you uses the spring if you want more ‘smoother’ priming. I took this picture from SgNerf as I had forgotten to take pictures from this step. The owner of this picture has the right to ask me to remove this picture.
I know it’s a picture of a Raider, however the Alpha Trooper, Recon and Raider has these here to prevent using bigger springs, but this can be easily modified
Step 3: Removing the Pin to get to the Barrel
Use a small screw driver or nail to tap out the pin that holds the boltsled to the barrel with a hammer.
Step 4: Air Restrictor Removal
Removing the Air Restrictor from the Alpha Trooper is the easiest process by far out of the all reverse plunger systems I have come across.
You will need the following tools displayed below, (Flat Head Screwdriver and Hammer).
If you look carefully the restrictors are held by ‘small prongs’; all you need to do tap it out using a flat head screw driver. Make sure your screw driver is long enough. As you can see below, the AR’s are removed cleanly.
Air Restrictor Remains
Step 5: Reverse Plunger Reinforcement
Many people think, “oh my god, I can purchase OMW aluminium plunger parts and my Alpha Trooper will last forever!”; However, you don’t need to spend $20 on something that can be fixed for less than 50cents. Here is what you do... Sand down the back of the reverse plunger. Make sure you clean off ALL the grease in your plunger before doing the following step.
Use 3day Araldite (for the strongest bond) epoxy and paste a generous amount on the back.
Place a 10cent coin carefully, making sure it’s CENTRED, so that when you prime it won’t get stuck obviously.
Now, grab some plunger padding (rubber tyre bladder or buffers purchased from oznerfnerd) and place epoxy on it as well and slide it down the plunger. http://stores.ebay.com.au/oznerfnerd?_rdc=1 - you can purchase buffers from oznerfnerd here.
This will give you a reinforced plunger as you basically have given extra layers to your plunger. This will ensure that your plunger will NOT break when using it. You don’t need all that ‘aluminium crap’ when you can do this for a very small fraction of the price. Please note, this method has been done by Sairex as a trial run and he has accidentally dry fired his AT approximately 100 times during times he ran out of ammo and didn’t notice and has not left a single crack or damaged mark on his plunger. It still shoots well =).
Step 6: Cutting the black attachment stock bit to fit the reinforcement
As thickening the plunger with the 10coin increases the length of your plunger slightly, your blaster may not be able to prime as the plunger won’t be able to go all the way back. I’ve marked where you need to cut it, once again I have forgotten the before and after picture.
Step 7: Deadspace Reduction
This is basically to increase the ‘air flow’ to your dart. You can use a macca’s straw to do this, make sure your straw isn’t TOO small or else you will limit too much air. Here I used a 12mm aluminium tube wrapped with e-tape to reduce the dead space.
Step 8: Air Hole in Barrel Plugged
Most N-strike blasters will come with this ‘hole’ to decrease the amount of power delivered to the dart. You can fix this by wrapping ONE layer of electrical tape. I forgot to take a picture of a plugged barrel, but you get the gist of it.
Step 9: Lubrication
After doing all those steps, you will need to regrease / relubricate your plunger. You will need the following lubricants.
Apply Hydroseal tap grease / fix-a-tap grease on the o-ring AND inside the plunger.
After applying the tap grease, spray the o-ring and INSIDE the plunger with the H4000 Food Grade Silicone Spray
Step 10: Removing the Boltsled and Prime lock Locks.
I removed these so that the blaster had smoother firing. Please note, if you do remove these locks you will need to place your hand on the
priming handle FORWARD in order to fire your blaster.
Remove that lock by taking it out with a screwdriver.
FINISHED!
There you have it, an Alpha Trooper that has a decent range and ROF to compete against all degrees of blasters. PLEASE NOTE: The strategy used for this blaster is for RUSHING by POPPING OFF SHOTS at your enemies. Standing from afar and trying to aim is not using this blaster at is maximum potential =).
Average STOCK Ranges
PTG: 25ft
ATG: 35ft
Average IMPROVED Ranges
PTG: 50ft
ATG: 65ft