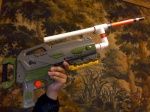
Stampede Modification:
I figured that we have a whole bunch of ‘battery’ tray modifications in the directory; however we have nothing on how to actually improve the POWER of the actual blaster. Here is a step by step guide of doing all the general modifications in this blaster.
You will need -
- A mallet / hammer
- Flat head screwdriver
- Teflon Tape
- Springs (will be outlined below)
- Rubber Tyre Bladder (all a substitute for plunger padding)
- A Phillip’s head screw driver
- Trustfire Batteries & Charger
- Electrical Tape
- Stanley Knife
Step 1: Taking it apart
Taking apart the blaster of course! Remember to take several pictures while you take parts out one by one. Take them in several different angles so you have an idea on how to put it back together again.

Once you remove all the screws, check the shoulder stock part of the stampede; there is a sticker in which you need a Stanley knife to cut in half. This sticker as simple as it maybe will prevent you from easily pulling the blaster apart.

Here are a whole bunch of internal pictures in different angles, removing one layer at a time. The first layers are the pictures below.

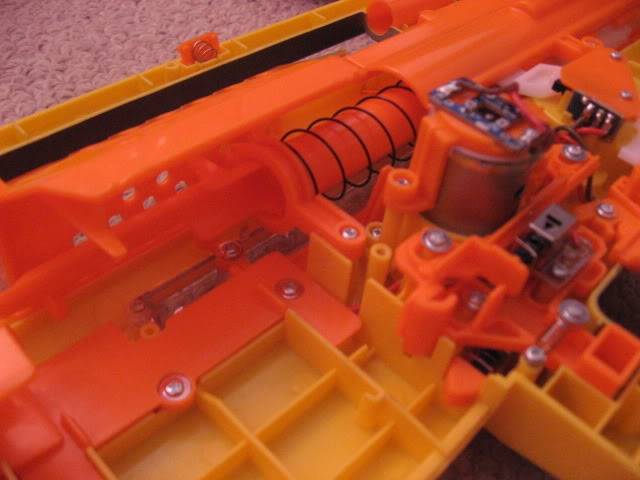

The second layer:

Make sure you remember to place the trigger catch (in the photo where the plunger back is going through) in the right direction. You can tell as there is a ‘flush’ mini slit on the bottom of the catch. If your blaster is firing and it’s not shooting properly, check that part if you’ve orientated properly.

All internals of plunger system removed from the blaster.

Step2: Voltage Upgrade
There are several ways you can increase the voltage in your Nerf Stampede. If you check the Modifications Directory, there are several methods including SLA batteries to install into your battery tray. The reason you need to increase the voltage of the blaster is because since you will be using stronger springs, you need more electricity to compress the spring. It also helps increase the rate of fire to help dominate at wars.
In this example, I am using trustfire batteries. The information you need to find to purchase these batteries and tray is located in the ‘sticky’ of sourcing modification materials in Australia.

Remember to put the BLACK WIRE on the ‘spring-like’ terminal of the blaster and the RED WIRE on the opposite side of the flat terminal. You can use a soldering iron to do this; however, I don’t have one so I used electrical tape. I have conveniently put black e-tape on the black wire and red e-tape on the red wire for those who are confused.

Step 3: Removing the Air Restrictors
In order to do that, you must remove the two screws on the back plate of the plunger.

As you can see, there are three prongs holding a ‘centre circle’ part. You have to smash it out using a hammer and sharp flat head screwdriver. It may take several attempts in order to do this. Remember, to support the barrel with something so it doesn’t snap.

You have to also smash the ‘two’ supports of the pegs to get the air restrictors out.

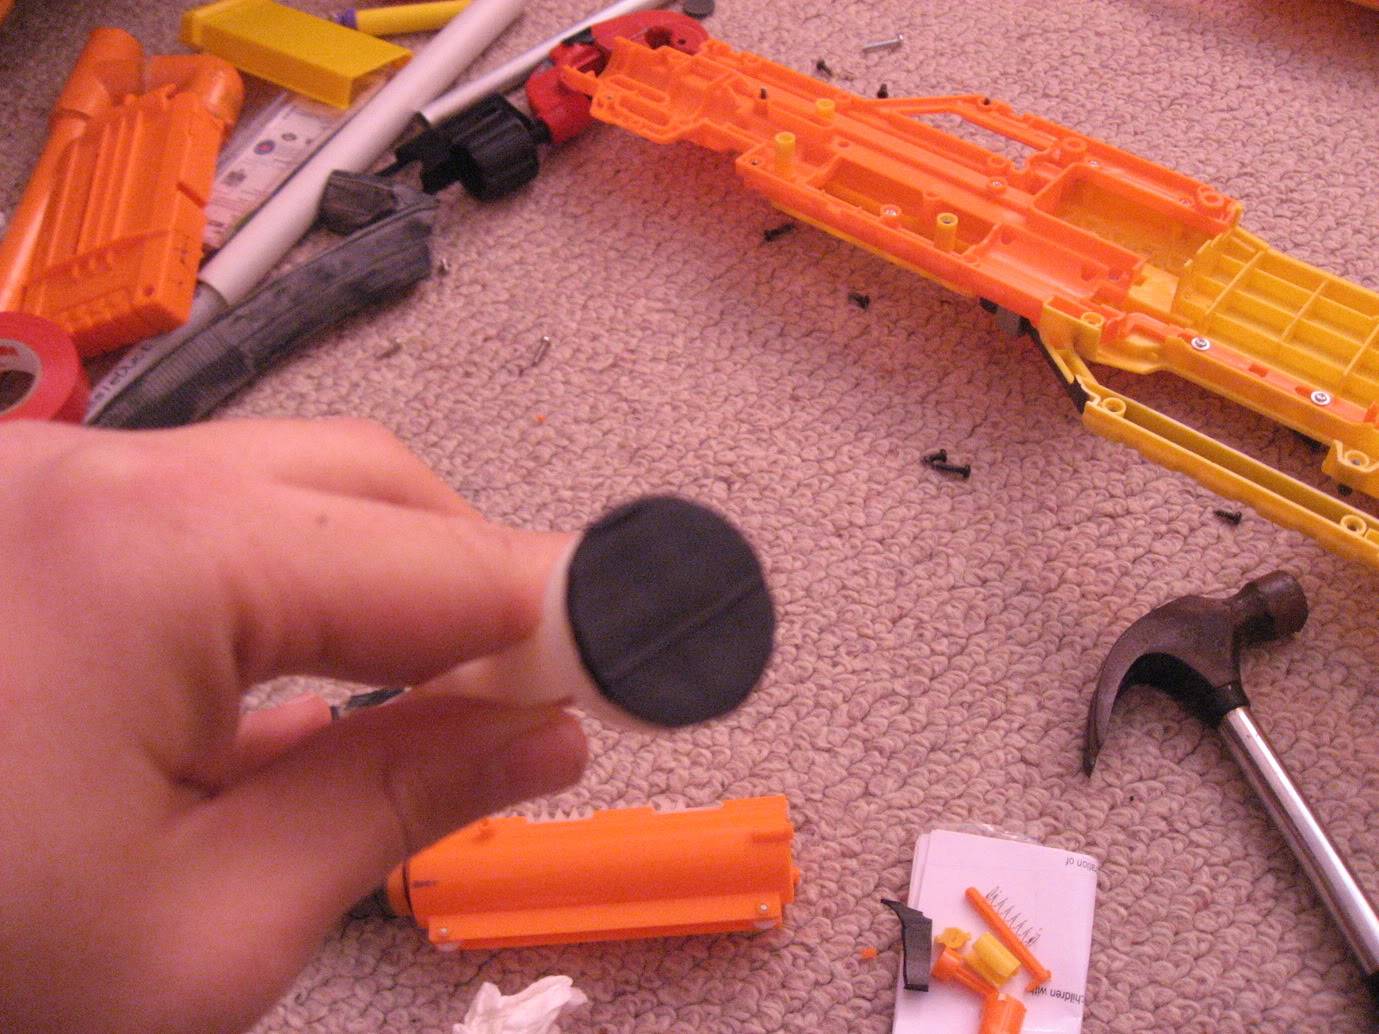
After pictures:


The stuff that should come out after smashing it out can be seen in the bottom right hand corner of this
Step 4: Plunger Padding
I used bike tyre bladder and cut it in a circular shape and super glued it onto the head of the plunger. Remember to wipe the grease before you do it for a stronger bond.
Step 5: Seal Improvements
In order to improve the seal of the plunger head you can either replace the current o-ring with the stock one; or place Teflon tape underneath the current o-ring to help expand it. I used Teflon tape as I didn’t have another o-ring.


You can lubricate the o-ring by using Fix-A-Tap grease COMBINED with FOOD GRADE silicone spray afterwards. This will give the grease more frictionless properties in order for your plunger to move faster.
Step 6: Spring Replacements
You can purchase spring replacements from black-tactical.com. Alternatively, you can grab a triple shot spring and combine it with the stock spring. From top to bottom – Air Zone Dart Blaster Spring (can be slipped underneath the stock stampede spring); Stock Stampede Spring; Air Zone Triple Shot Spring (can be slipped on top of the stock stampede spring)

Stock Ranges
25ft-30ft (9-10metres)
Improved Ranges
60ft-75ft (18-24metres)
Stock Rate of Fire
3 rounds per second
Improved Rate of Fire
6 rounds per second
Video of Firing:
I figured that we have a whole bunch of ‘battery’ tray modifications in the directory; however we have nothing on how to actually improve the POWER of the actual blaster. Here is a step by step guide of doing all the general modifications in this blaster.
You will need -
- A mallet / hammer
- Flat head screwdriver
- Teflon Tape
- Springs (will be outlined below)
- Rubber Tyre Bladder (all a substitute for plunger padding)
- A Phillip’s head screw driver
- Trustfire Batteries & Charger
- Electrical Tape
- Stanley Knife
Step 1: Taking it apart
Taking apart the blaster of course! Remember to take several pictures while you take parts out one by one. Take them in several different angles so you have an idea on how to put it back together again.
Once you remove all the screws, check the shoulder stock part of the stampede; there is a sticker in which you need a Stanley knife to cut in half. This sticker as simple as it maybe will prevent you from easily pulling the blaster apart.
Here are a whole bunch of internal pictures in different angles, removing one layer at a time. The first layers are the pictures below.
The second layer:
Make sure you remember to place the trigger catch (in the photo where the plunger back is going through) in the right direction. You can tell as there is a ‘flush’ mini slit on the bottom of the catch. If your blaster is firing and it’s not shooting properly, check that part if you’ve orientated properly.
All internals of plunger system removed from the blaster.
Step2: Voltage Upgrade
There are several ways you can increase the voltage in your Nerf Stampede. If you check the Modifications Directory, there are several methods including SLA batteries to install into your battery tray. The reason you need to increase the voltage of the blaster is because since you will be using stronger springs, you need more electricity to compress the spring. It also helps increase the rate of fire to help dominate at wars.
In this example, I am using trustfire batteries. The information you need to find to purchase these batteries and tray is located in the ‘sticky’ of sourcing modification materials in Australia.
Remember to put the BLACK WIRE on the ‘spring-like’ terminal of the blaster and the RED WIRE on the opposite side of the flat terminal. You can use a soldering iron to do this; however, I don’t have one so I used electrical tape. I have conveniently put black e-tape on the black wire and red e-tape on the red wire for those who are confused.
Step 3: Removing the Air Restrictors
In order to do that, you must remove the two screws on the back plate of the plunger.
As you can see, there are three prongs holding a ‘centre circle’ part. You have to smash it out using a hammer and sharp flat head screwdriver. It may take several attempts in order to do this. Remember, to support the barrel with something so it doesn’t snap.
You have to also smash the ‘two’ supports of the pegs to get the air restrictors out.
After pictures:
The stuff that should come out after smashing it out can be seen in the bottom right hand corner of this
Step 4: Plunger Padding
I used bike tyre bladder and cut it in a circular shape and super glued it onto the head of the plunger. Remember to wipe the grease before you do it for a stronger bond.
Step 5: Seal Improvements
In order to improve the seal of the plunger head you can either replace the current o-ring with the stock one; or place Teflon tape underneath the current o-ring to help expand it. I used Teflon tape as I didn’t have another o-ring.
You can lubricate the o-ring by using Fix-A-Tap grease COMBINED with FOOD GRADE silicone spray afterwards. This will give the grease more frictionless properties in order for your plunger to move faster.
Step 6: Spring Replacements
You can purchase spring replacements from black-tactical.com. Alternatively, you can grab a triple shot spring and combine it with the stock spring. From top to bottom – Air Zone Dart Blaster Spring (can be slipped underneath the stock stampede spring); Stock Stampede Spring; Air Zone Triple Shot Spring (can be slipped on top of the stock stampede spring)
Stock Ranges
25ft-30ft (9-10metres)
Improved Ranges
60ft-75ft (18-24metres)
Stock Rate of Fire
3 rounds per second
Improved Rate of Fire
6 rounds per second
Video of Firing: