I finally got my hands on the LOTR Uruk Hai crossbow. And now to show you what I've done to it.
Things you will need are, one lotr xbow, some 20mm and 16mm UPVC conduit and 25mm pvc, cutting tool (dremel/hacksaw/pipe cutters), screwdriver, hammer, glue/epoxy/cement.
First off open the blaster and put the screws trigger and trigger spring into a container so not to misplace them.
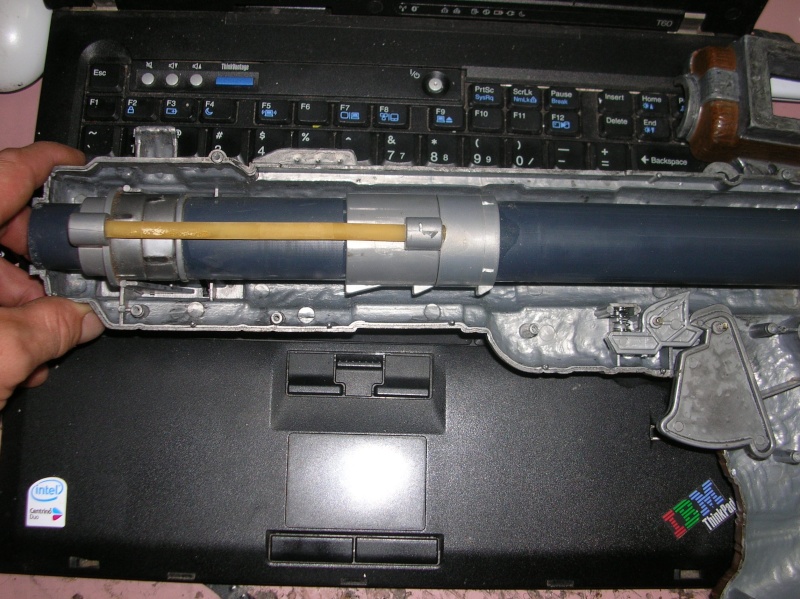
Once open, take out the plunger tube and cut the seal that holding the barrel in the plunger tube (forgot to take a pic of this, here is one from NH)
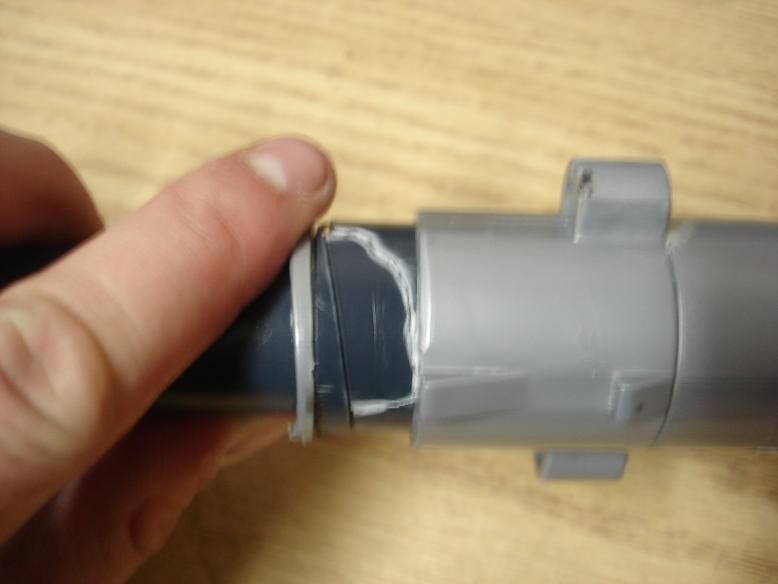
Now you can pull out the barrel and remove the AR, I just used a hammer and screwdriver, there in no spring and it comes out very easy.
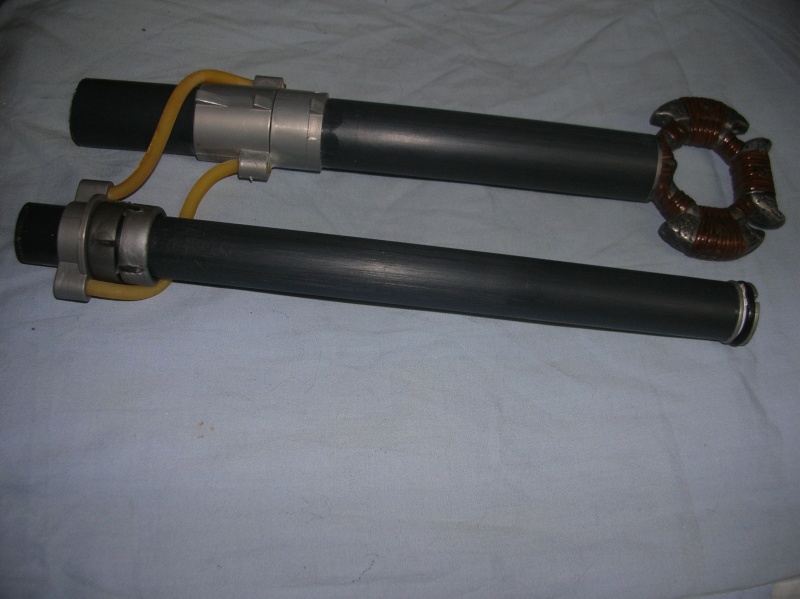
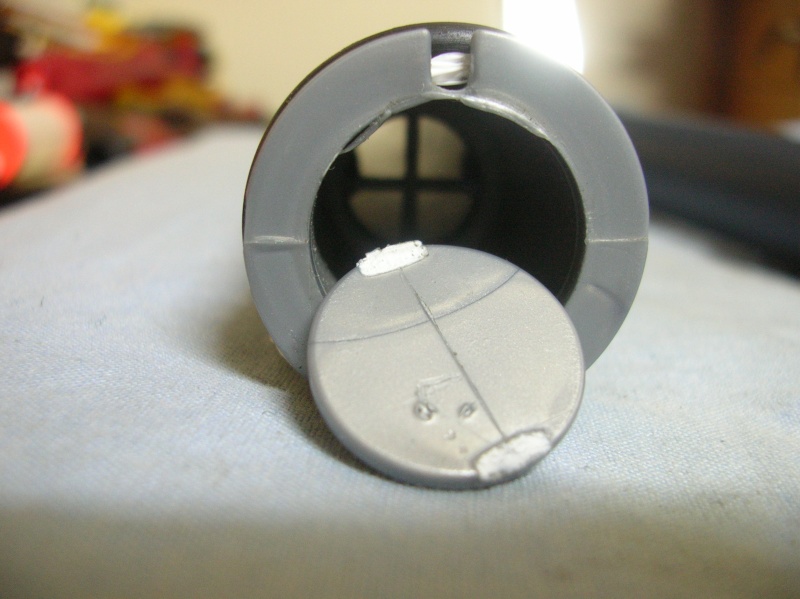
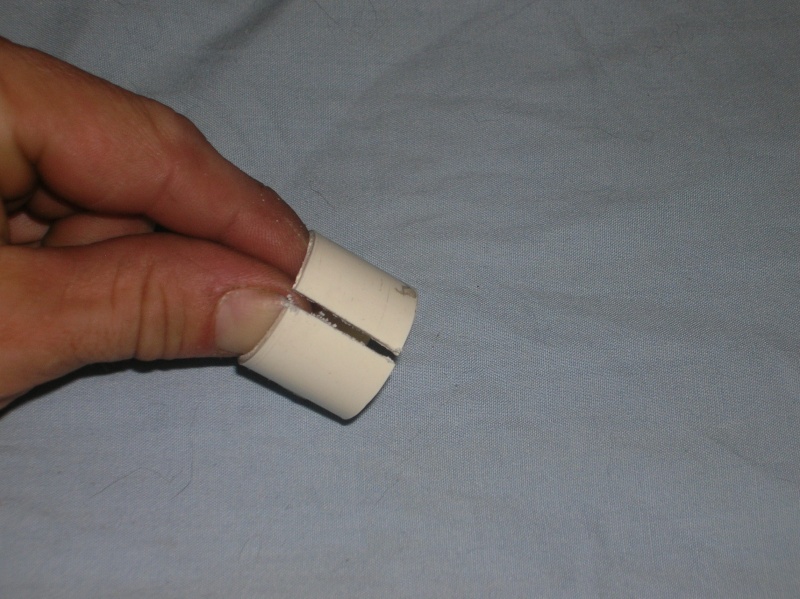
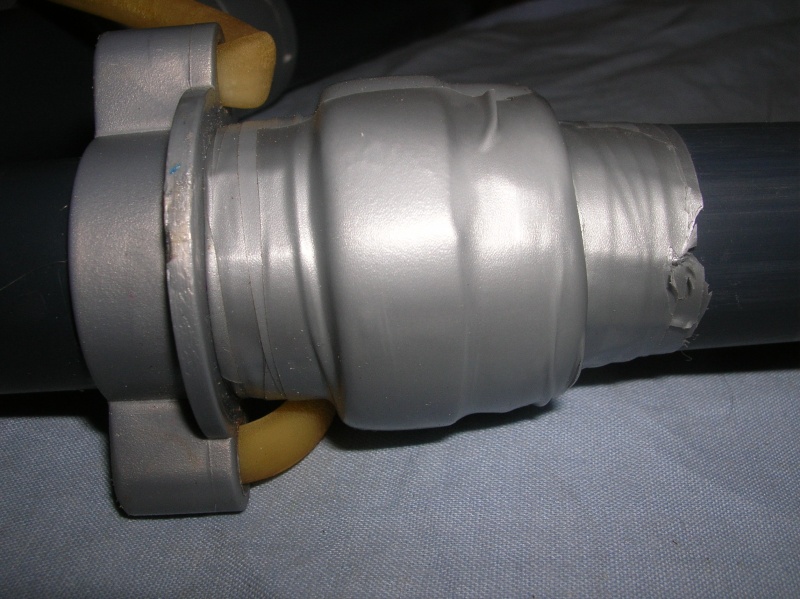
Now for padding there are 2 rubber rings around the barrel, I found that after I took the AR out they didn't really help. So I took a piece of 25mm pvc and made a collar to move the rubber rings up the barrel a bit so that they did their job. I used some hobby cement to glue the collar and duct like tape to hold the rubber rings in place.

Give time for the glue/cement to set and put it back together.
The hard part is over, we move on to easy street.
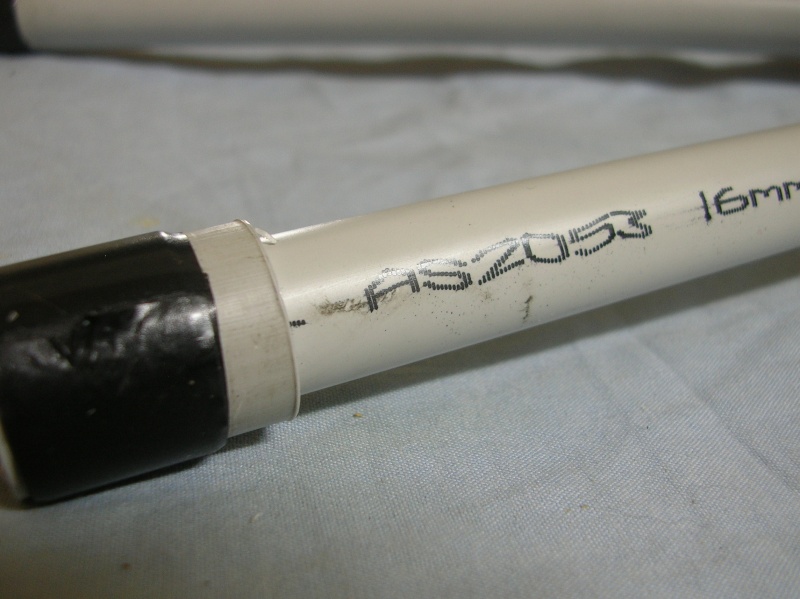
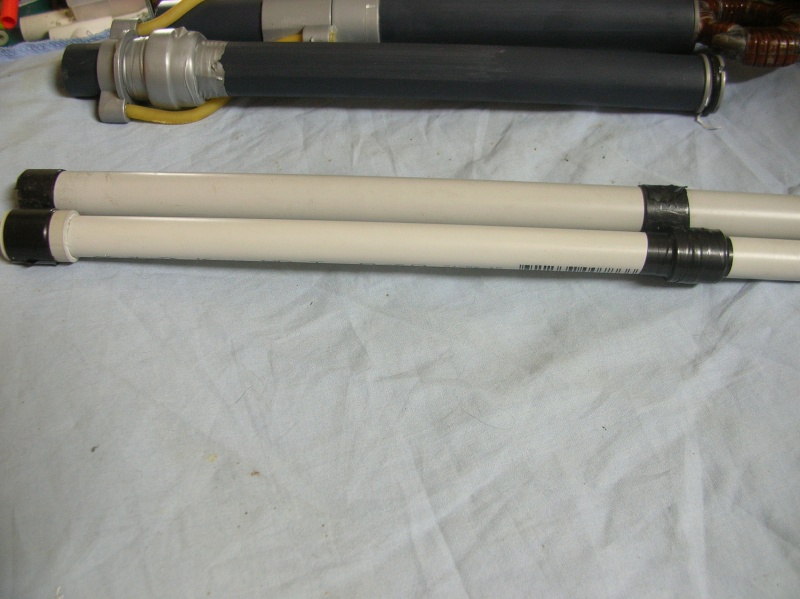
I have 2 barrel set ups made for this blaster, a normal single upvc 16mm barrel and a 20mm/16mm upvc inline clip. Fairly straight forward, for the singled barrel I cut 2 pieces of 20mm upvc to put over the the 16mm so I didn't have to use a lot of etape to get an airtight fit. I glues the 20mm bits onto the 16mm and them gave them about 6-7 wraps of etape to make the seal.
The inline clip is easier still, just cut a bit to how ever long you want it and them wrap the etape to make the seal tight and ram it down the barrel
So there you have it, one sweet reverse plunger pwner, ready to pwn who ever gets in its way at the next war.
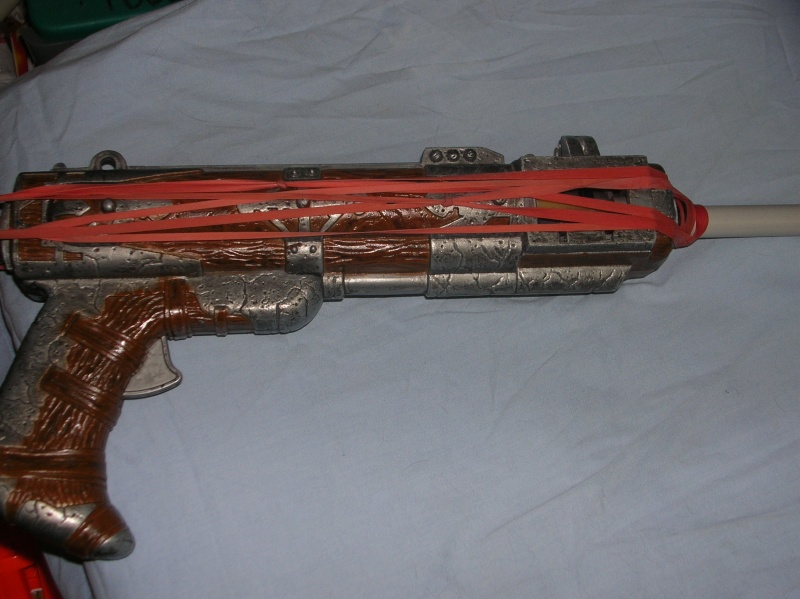
This was more of a how I did than a how to but hope you like it. And the rubber bands will go when I get to Bunnings or somewhere I can find some ocy straps.
Ranges with the rubber bands are around 80ish.
Gooni.
Things you will need are, one lotr xbow, some 20mm and 16mm UPVC conduit and 25mm pvc, cutting tool (dremel/hacksaw/pipe cutters), screwdriver, hammer, glue/epoxy/cement.
First off open the blaster and put the screws trigger and trigger spring into a container so not to misplace them.

Once open, take out the plunger tube and cut the seal that holding the barrel in the plunger tube (forgot to take a pic of this, here is one from NH)

Now you can pull out the barrel and remove the AR, I just used a hammer and screwdriver, there in no spring and it comes out very easy.


Now for padding there are 2 rubber rings around the barrel, I found that after I took the AR out they didn't really help. So I took a piece of 25mm pvc and made a collar to move the rubber rings up the barrel a bit so that they did their job. I used some hobby cement to glue the collar and duct like tape to hold the rubber rings in place.


Give time for the glue/cement to set and put it back together.
The hard part is over, we move on to easy street.
I have 2 barrel set ups made for this blaster, a normal single upvc 16mm barrel and a 20mm/16mm upvc inline clip. Fairly straight forward, for the singled barrel I cut 2 pieces of 20mm upvc to put over the the 16mm so I didn't have to use a lot of etape to get an airtight fit. I glues the 20mm bits onto the 16mm and them gave them about 6-7 wraps of etape to make the seal.
The inline clip is easier still, just cut a bit to how ever long you want it and them wrap the etape to make the seal tight and ram it down the barrel


So there you have it, one sweet reverse plunger pwner, ready to pwn who ever gets in its way at the next war.

This was more of a how I did than a how to but hope you like it. And the rubber bands will go when I get to Bunnings or somewhere I can find some ocy straps.
Ranges with the rubber bands are around 80ish.
Gooni.


