Released back in 2010 alongside the Alpha Trooper and the Barricade, the Nerf Barrel Break was an interesting piece of kit. I had played a decent amount with the BuzzBee double shot previously but never really had any interest in the Barrel Break back then. Hell, even now it's one of the few recent Nerf blasters I don't own at least one of. This then lead me to post a WTB in a local blaster trading group a few months back. A friend (and former lecturer) noticed said WTB and while he wasn't willing to sell me his beloved "Charity", he was clever enough to inquire as to if I only wanted it for modding purposes.
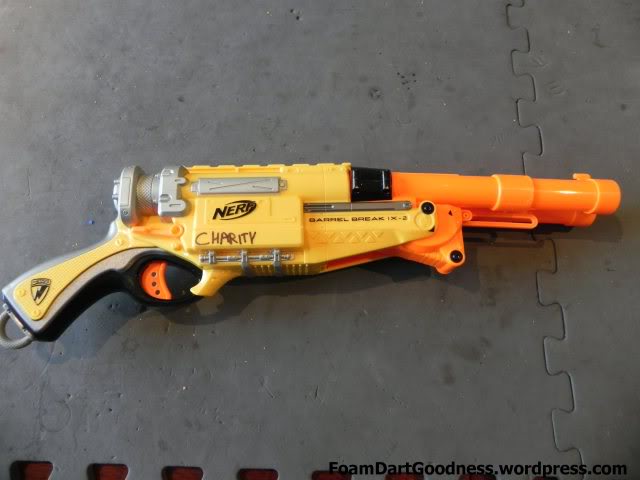
While I sure would have liked to add one to the collection, I mostly did just want to get my hands on one to write a walk through. His was stock and he wasn't overly attached to that fact, so he offered me the blaster to 'borrow and mod'. Wins all round I say.
Today we'll be performing a simple air restrictor removal, or AR removal for short.
_______________________________________________________________________
Tools/Materials required…
Phillips head screwdriver
Drill and assortment of drill bits
Long round hand file
Electrical tape
_______________________________________________________________________
As always, start by opening up the blaster in question.
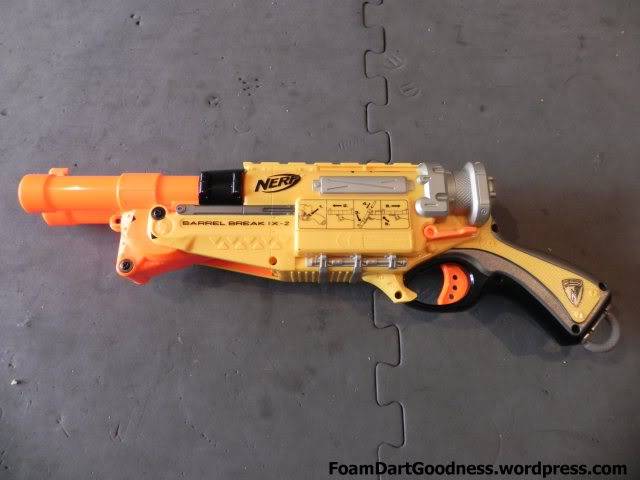
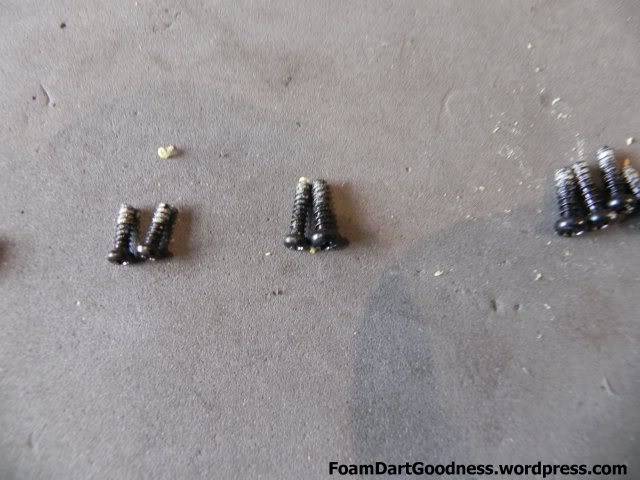
This is a little different from most other Nerf blasters in that there are a lot of different types of screws.
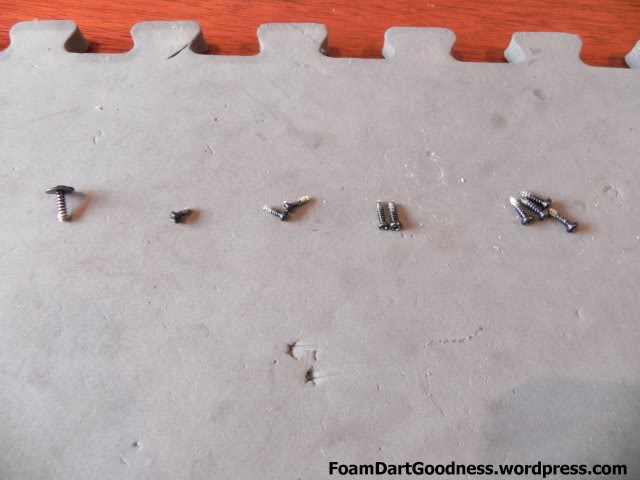
This short fat one went...

Here, in front of the trigger guard.

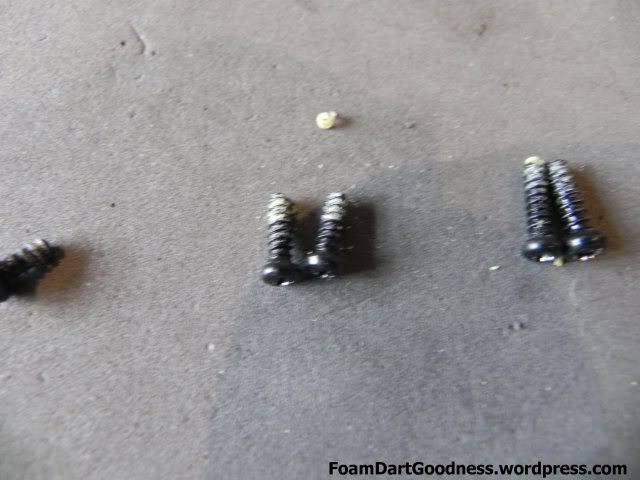
The two short normal width ones went...
Along the top tac rail here.

These two longer screws went...
Here at the back of the blaster,

And here, at the underside.

The four regular sized screws went...

Here, in the handle.

Finally the big flat screw goes here, on the right. You can leave the one on the left alone for the time being.

Once all of those are removed you should be able to open up the blaster.

As always, have a good look around at this point to get an understanding of how it all works.
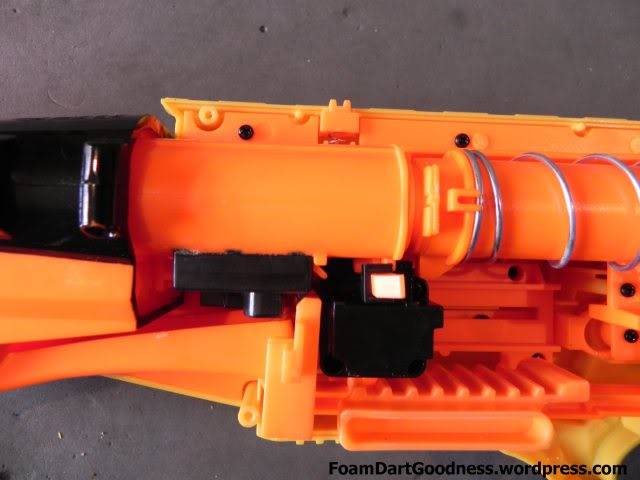
Knowing how something should work makes re-assembly FAR easier.

OK, happy? Good. Press this tab here allowing you to slide the barrel forward slightly.
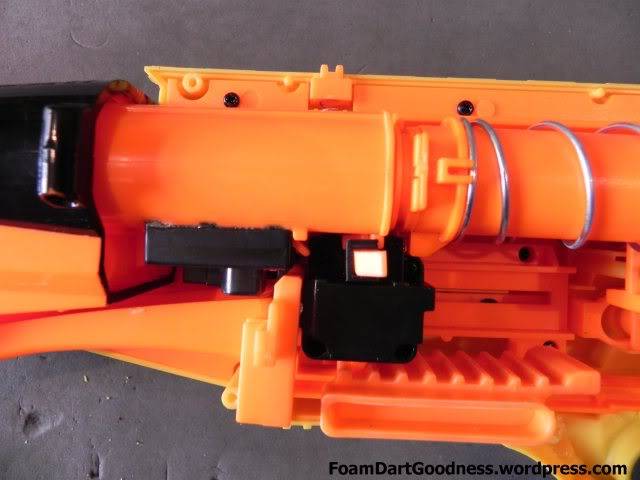
Like so.
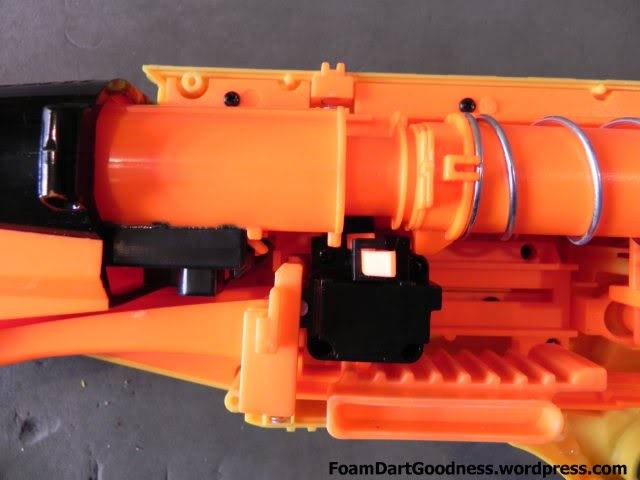
Then carefully slide it all the way forward.
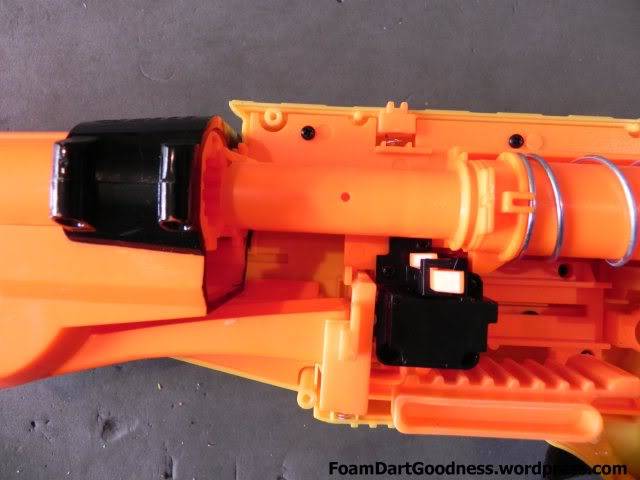
Lift the first plunger assembly out of the blaster.

So we can get to work on it. Take note at this point that the spring is larger in diameter at the back, the catch is facing up, and the lip at the front is also up.
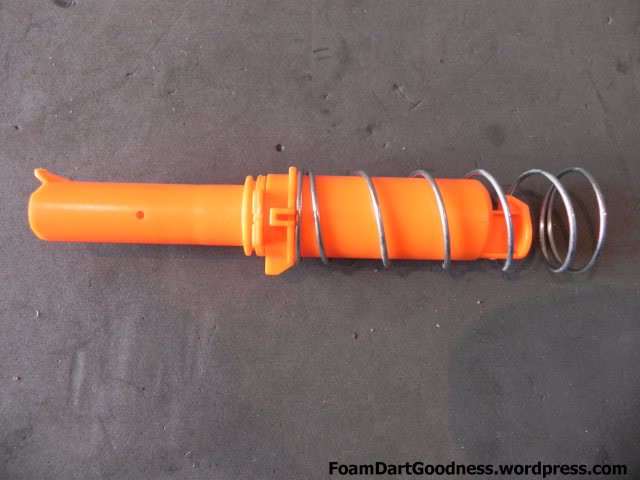
Pull apart all the components.

Oooo, look, an air restrictor.

Grab your drill and go to town on that sucker, then clean it up with your file
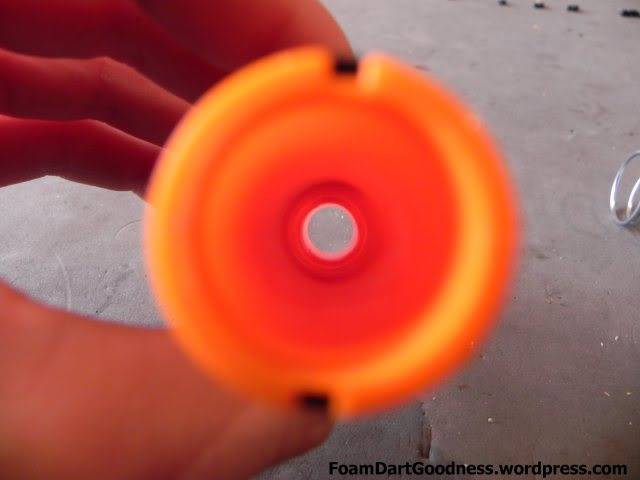
It's normally at this point where we'd improve the seal by wrapping the O-ring seat with teflon tape. However the seal from factory, on this Barrel Break at least, is pretty damn amazing. Trying to improve would only make it worse.
Wrap this hole with electrical tape.

Replace the spring.

Happy with that? Lets get back to the blaster then.

Remove the catch at the back.

Flip it over and remove the left most big screw. The one holding the right half of the shell to the front assembly.

Flip the blaster back over again and remove the whole front assembly.

Taking careful note of these two springs.

Remove the seven screws holding the centre divider in.
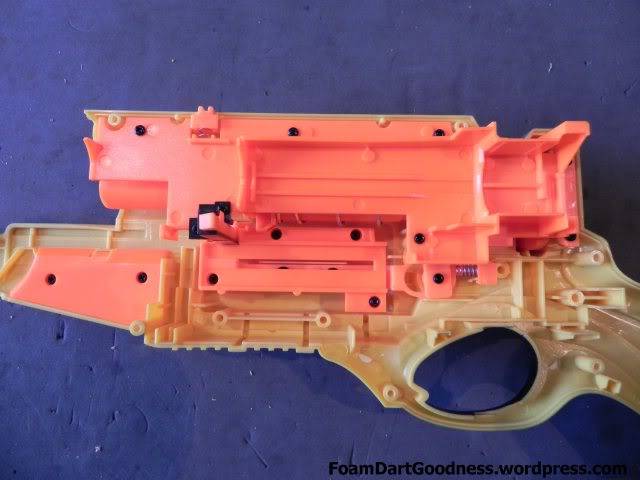
Then remove said divider.

We've now got access to the second plunger.

Take it out and perform the same mods as we did on the first one.

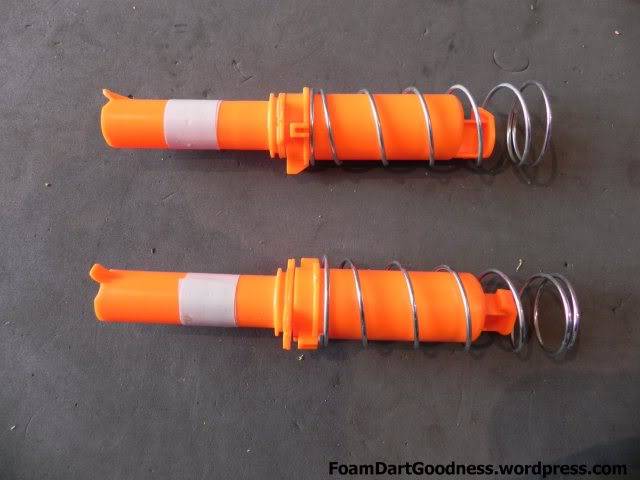
Check it, two plunger assemblies! Again take note at this point that the spring is larger in diameter at the back, the catch is facing up, and the lip at the front is also up.
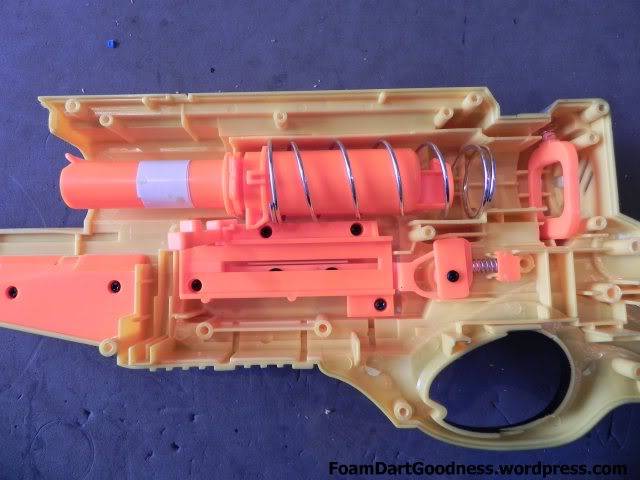
Replace the first plunger.
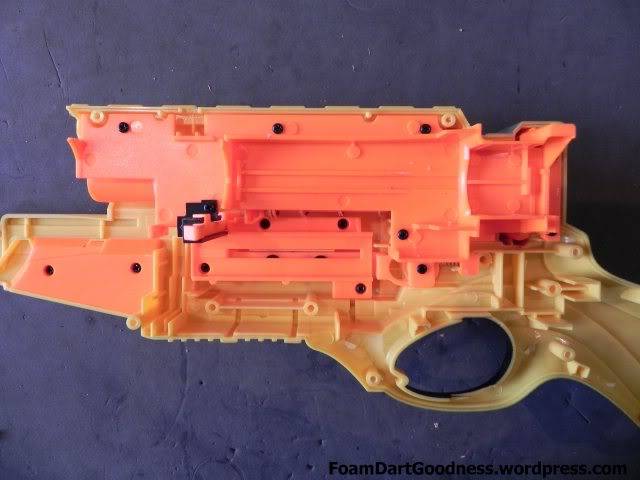
Then the centre divider.
Then the front assembly.
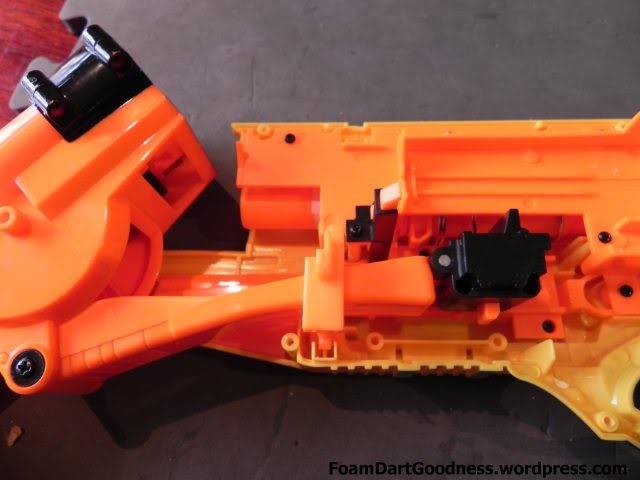
Then the trigger.
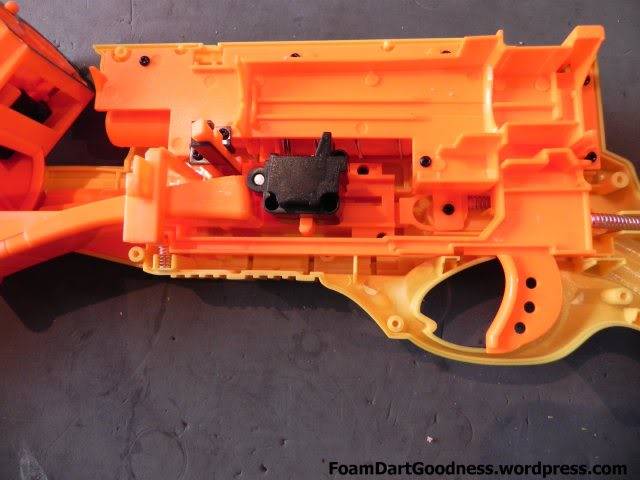
Then the toothed slider.

Then the catch.
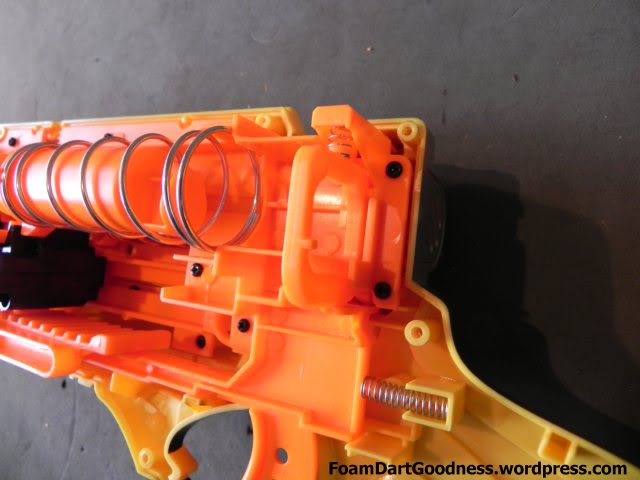
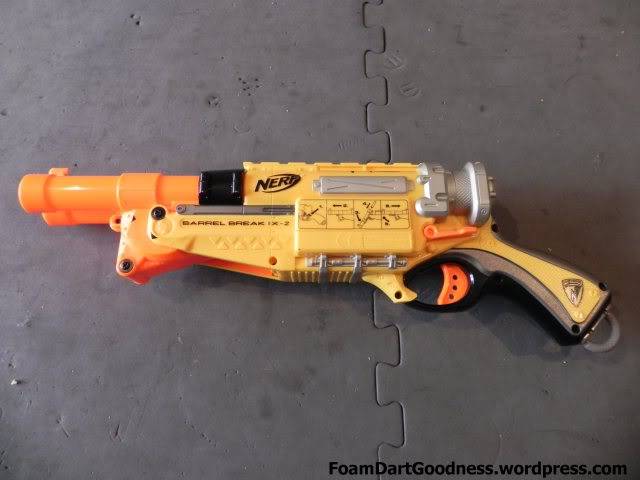
Then the shell and we're done, again remembering the screw locations mentioned at the start. There we have it, one AR'd Barrel Break.

While I sure would have liked to add one to the collection, I mostly did just want to get my hands on one to write a walk through. His was stock and he wasn't overly attached to that fact, so he offered me the blaster to 'borrow and mod'. Wins all round I say.
Today we'll be performing a simple air restrictor removal, or AR removal for short.
_______________________________________________________________________
Tools/Materials required…
Phillips head screwdriver
Drill and assortment of drill bits
Long round hand file
Electrical tape
_______________________________________________________________________
As always, start by opening up the blaster in question.

This is a little different from most other Nerf blasters in that there are a lot of different types of screws.

This short fat one went...

Here, in front of the trigger guard.

The two short normal width ones went...

Along the top tac rail here.

These two longer screws went...

Here at the back of the blaster,

And here, at the underside.

The four regular sized screws went...

Here, in the handle.

Finally the big flat screw goes here, on the right. You can leave the one on the left alone for the time being.

Once all of those are removed you should be able to open up the blaster.

As always, have a good look around at this point to get an understanding of how it all works.

Knowing how something should work makes re-assembly FAR easier.

OK, happy? Good. Press this tab here allowing you to slide the barrel forward slightly.

Like so.

Then carefully slide it all the way forward.

Lift the first plunger assembly out of the blaster.

So we can get to work on it. Take note at this point that the spring is larger in diameter at the back, the catch is facing up, and the lip at the front is also up.

Pull apart all the components.

Oooo, look, an air restrictor.

Grab your drill and go to town on that sucker, then clean it up with your file

It's normally at this point where we'd improve the seal by wrapping the O-ring seat with teflon tape. However the seal from factory, on this Barrel Break at least, is pretty damn amazing. Trying to improve would only make it worse.
Wrap this hole with electrical tape.

Replace the spring.

Happy with that? Lets get back to the blaster then.

Remove the catch at the back.

Flip it over and remove the left most big screw. The one holding the right half of the shell to the front assembly.

Flip the blaster back over again and remove the whole front assembly.

Taking careful note of these two springs.

Remove the seven screws holding the centre divider in.

Then remove said divider.

We've now got access to the second plunger.

Take it out and perform the same mods as we did on the first one.

Check it, two plunger assemblies! Again take note at this point that the spring is larger in diameter at the back, the catch is facing up, and the lip at the front is also up.

Replace the first plunger.

Then the centre divider.

Then the front assembly.

Then the trigger.

Then the toothed slider.

Then the catch.

Then the shell and we're done, again remembering the screw locations mentioned at the start. There we have it, one AR'd Barrel Break.


