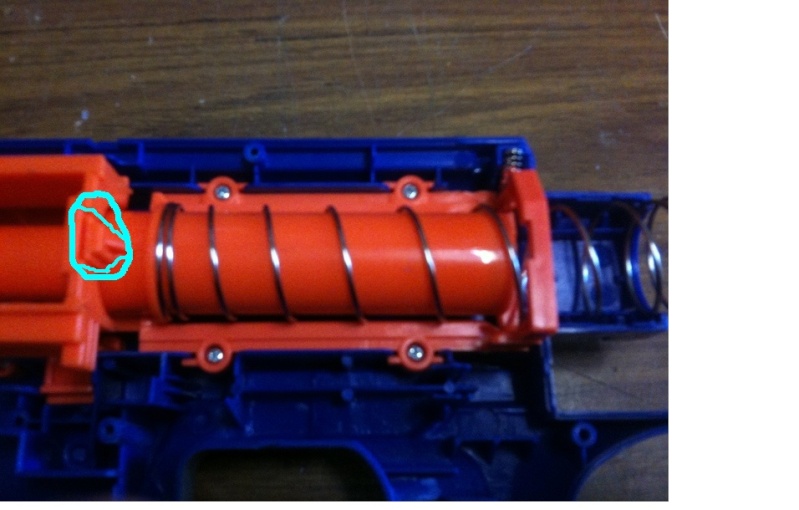
FYI, the pics aren't great as they are taken from my iPhone because my Camera batteries were dead. Anyway, Live with it
What you need:
- 3 day/5 minute Epoxy
- Duct Tape/E Tape
- Lube
- Washer
- Sand Paper
- A Nail
- Long drill/Hammer and a Screw Driver
OPTIONAL:
- Replacement Spring (available from black tactical)
Well, first off get your raider and take it apart:


Then take these out:

Now take those silver screws out, and then take the plunger assembly out.

Now, Grab the assembly and get the nail and take the bolt sled off the barrel assembly.

Then drill/hammer out the AR's, it should Look something like this (Before -> After) [Yes I know the pics suck, im sorry. Want a Cookie? Well you cant have one.]


Now get the barrel assembly and there will be a small hole. Get your Duct Tape or E-Tape and wrap that hole. Should look something like this:


Reverse Plunger Reinforcement
This is incredibly simple. Yet I have had a number of people still not understanding this.
Get your plunger tube and a washer that will fit nicely on the back. (Id tell you the size, but I just found one laying around. Its honestly not that hard to take the plunger tube to the hardware shop and sample washers until you find one that fits.)

Now grab your sand paper and lightly sand down the back of the plunger tube and the washer. This will give the epoxy some more grip and last longer.

Now, mix up your epoxy and glue the washer on. You can use 3day or 5 minute epoxy, Just depends on how impatient you are.

Now, put everything back together again and replace the springs if you want to, and your all good!

Now you have a semi decent raider.
- Brad


